Hatch refinishing
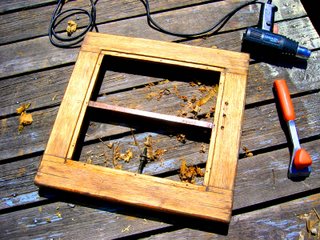
While waiting for varnish to dry I was going a little stir crazy, so I ripped off my fore hatch and stripped it, re-bunged a couple of holes and preped it for varnishing too! This turned out to be sort of bad timing, as it has rained two times now after I took the hatch off... oops! So an storage bin lid and a empty dry bag are keeping us dry for the time being.
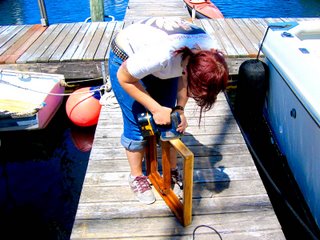
Cass sanding the wood down...
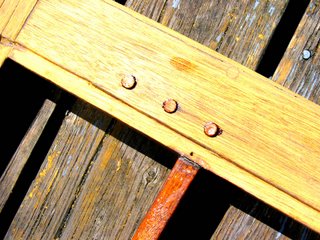
New bungs installed...
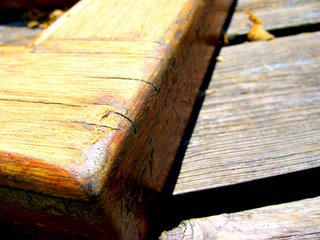
Some checking in the grain... The oil sealing method should rejuvenate the wood and help minimize this.

Cass sanding the wood down...

New bungs installed...

Some checking in the grain... The oil sealing method should rejuvenate the wood and help minimize this.

posted by bott at 10:02 AM
![]()


0 Comments:
Post a Comment
<< Home