Hatch cracks
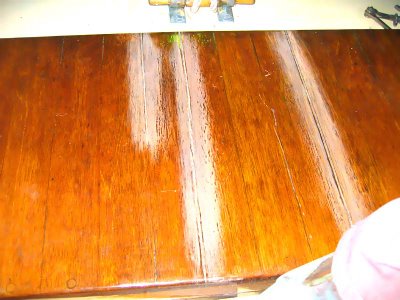
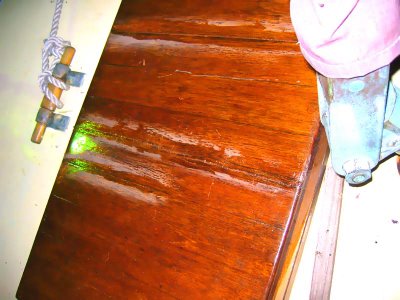
Last night I was pretty unproductive on the boat, but I did manage to get some epoxy/woodflour fill placed into a large crack that had developed in the laz hatch. I sanded down the varnish and picked out old bedding compound with a chisel and small screwdriver. It was not unlike reefing a seam, I wanted to make sure that I had a clean, even crack to fill. Then I just mixed the pack of epoxy and woodflour (form a hunk of mahogany I had leftover from the graving block project, excellent color match!) and packed it into the seam.
According to Rebecca Whitteman's brightwork book, that mix should allow for enough flexibility for the wood to flex with the seasons. I am concerned that the filler will be too stiff, and cause more checking when the wood swells and such, but it seemed like a good try considering most other fillers I had would look bad under varnish.
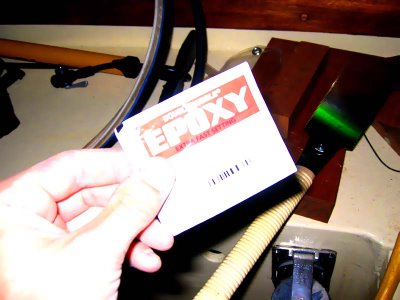
These little Double/Bubble 5 min epoxy packs are pretty sweet. They make little patching projects like this go really smoothly.

I guess these two before and after shots look pretty much the same... but here it is:


Now just to sand them down and put some more layers of varnish over the beast.
According to Rebecca Whitteman's brightwork book, that mix should allow for enough flexibility for the wood to flex with the seasons. I am concerned that the filler will be too stiff, and cause more checking when the wood swells and such, but it seemed like a good try considering most other fillers I had would look bad under varnish.
These little Double/Bubble 5 min epoxy packs are pretty sweet. They make little patching projects like this go really smoothly.

I guess these two before and after shots look pretty much the same... but here it is:


Now just to sand them down and put some more layers of varnish over the beast.


0 Comments:
Post a Comment
<< Home