Bow refastening
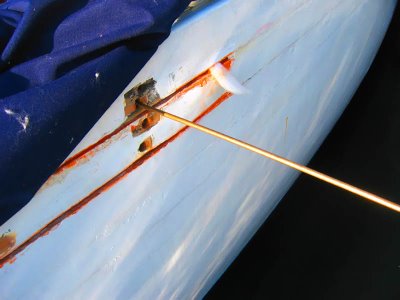
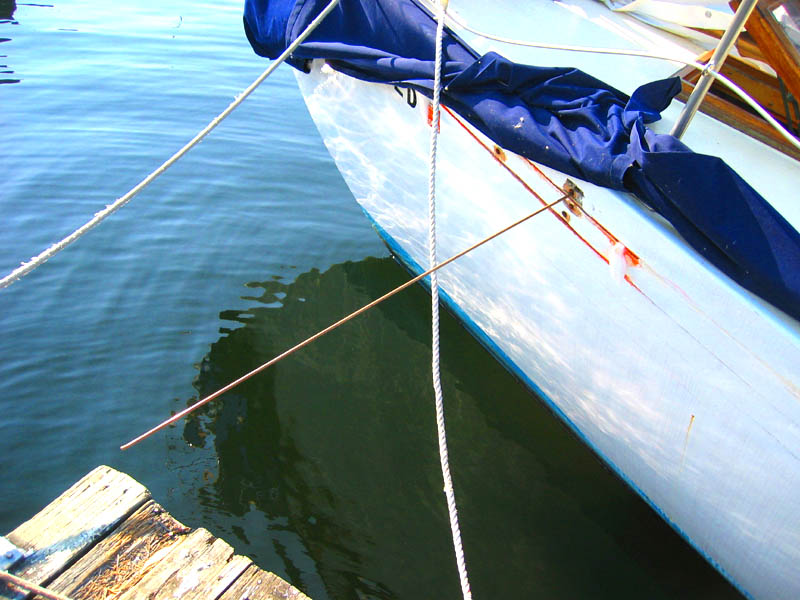
I worked more on the bow refastening project. I found out, much to my disappointment, that getting the bolts in that are above the beam shelf are going to be very hard. There is no way to get a socket or wrench back there to reach a nut, and plus, I don't trust the frame too much to take the crushing stress from the bolt, even with a washer.
So on Saturday I looked at the possibility of fastening through to the edge of the beam shelf, using a fastening in backing block for the nut to press against. The negative side of this plan is that the longer bolts will be more costly, but thanks to the fact that I now have the ability to make my own bolts at low cost, it is of little concern. I also do not think that this will affect resistance to shearing of the plank against the frame, but it is still a concern as well...
The first step was to push the rod section through the fastener hole to 1) see where the extra long fastener would exit the edge of the beam shelf plane, and 2) see how long I need to cut the bolt. Nevertheless, it is strange to see the whole rod section skewering my boat.

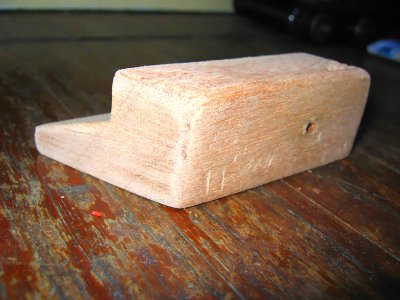
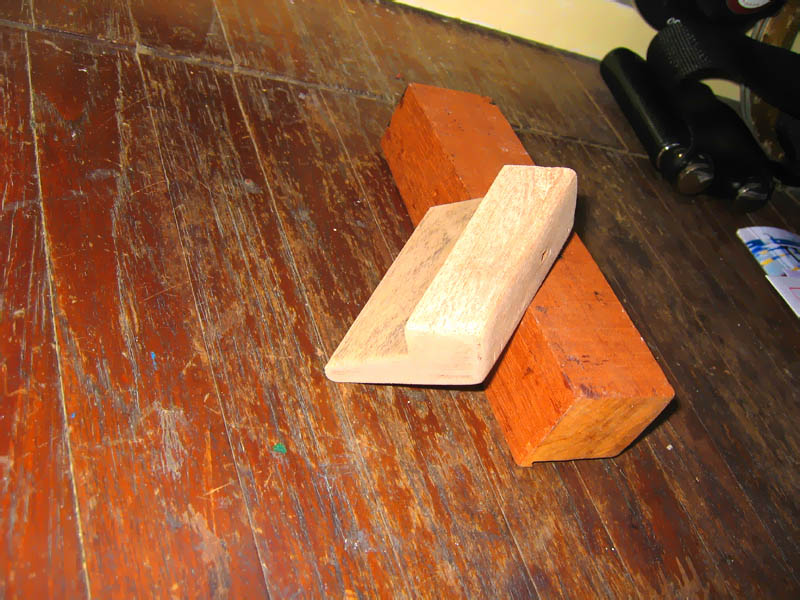
Next I found a suitable bit of wood from the stash I keep on the boat. The boat came with a mahogany dodger that I thought looked hideous (ie- it looked like a motor-sailor), and a piece from that dodger worked very well as a good donor bit of mahogany, at the right price. I then took bevels off the beam shelf/deck beam intersection and cut the piece.
Here it is:

Then I whipped up some epoxy with bonding filler and wedged it in place and left it to cure.
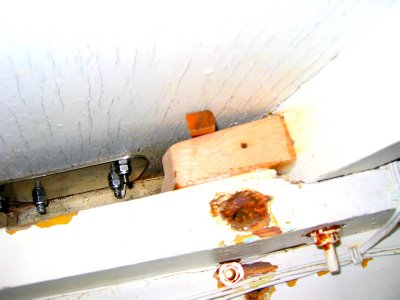
The whole thing actually workes out really well, considering the hole you see right below the block is pretty 'rotten' out from local iron sickness. The old fastener has been removed, so the sickness is not going to continue, but I would not feel good about putting another fastener in there. So having the good bronze bolt above the shelf against the new block, and one below (you can see in the picture, it comes from the outer hole that would have been lead through the old hole in the beam shelf) I believe will give the area renewed strength, like a sistered frame.
Next step, re-drill the hole, fasten it up, fill the leftover hole, and then paint to make it look all pretty again!
So on Saturday I looked at the possibility of fastening through to the edge of the beam shelf, using a fastening in backing block for the nut to press against. The negative side of this plan is that the longer bolts will be more costly, but thanks to the fact that I now have the ability to make my own bolts at low cost, it is of little concern. I also do not think that this will affect resistance to shearing of the plank against the frame, but it is still a concern as well...
The first step was to push the rod section through the fastener hole to 1) see where the extra long fastener would exit the edge of the beam shelf plane, and 2) see how long I need to cut the bolt. Nevertheless, it is strange to see the whole rod section skewering my boat.

Next I found a suitable bit of wood from the stash I keep on the boat. The boat came with a mahogany dodger that I thought looked hideous (ie- it looked like a motor-sailor), and a piece from that dodger worked very well as a good donor bit of mahogany, at the right price. I then took bevels off the beam shelf/deck beam intersection and cut the piece.
Here it is:

Then I whipped up some epoxy with bonding filler and wedged it in place and left it to cure.

The whole thing actually workes out really well, considering the hole you see right below the block is pretty 'rotten' out from local iron sickness. The old fastener has been removed, so the sickness is not going to continue, but I would not feel good about putting another fastener in there. So having the good bronze bolt above the shelf against the new block, and one below (you can see in the picture, it comes from the outer hole that would have been lead through the old hole in the beam shelf) I believe will give the area renewed strength, like a sistered frame.
Next step, re-drill the hole, fasten it up, fill the leftover hole, and then paint to make it look all pretty again!
posted by bott at 12:06 PM
![]()


0 Comments:
Post a Comment
<< Home