More dovetails
Yesterday I did the rest of the dovetail work for the sink trim, minus the final fitting and gluing.
From the mortice I cut the day before, I cut the corresponding tennon (thing... for a rabbeted dovetail? I donno the lingo that well...). But it fit very nicely... snug without jamming.
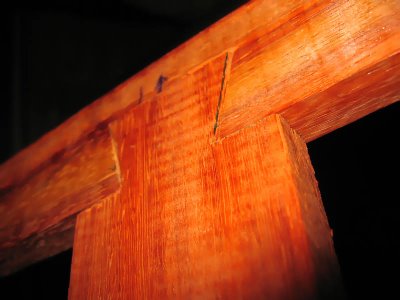
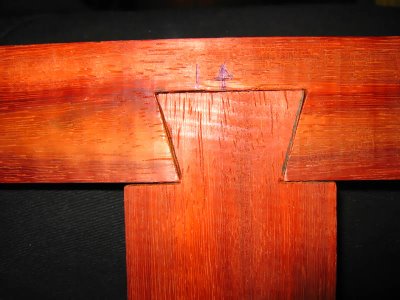
To cut the other side's mortice, I first took the front piece (with the already done cutout) and the side piece and clamped them square using the 3-4-5 triangle trick (much more accurate then any combo square).
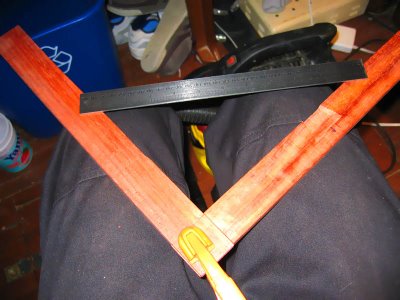
Then I marked my parallel lines from the front piece, traced the pattern, then began chiseling the cutout for the back piece.
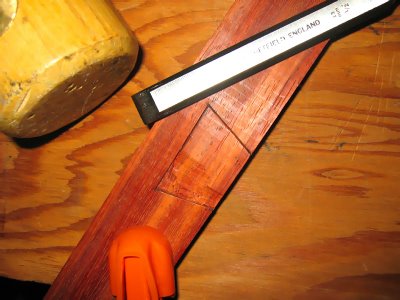
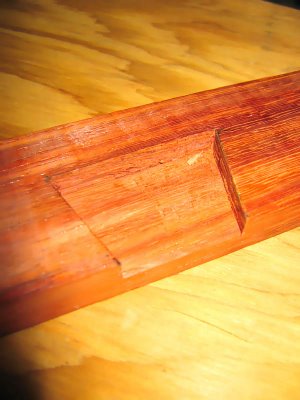
Then I marked and cut the dovetail pattern for the tennon-like part.
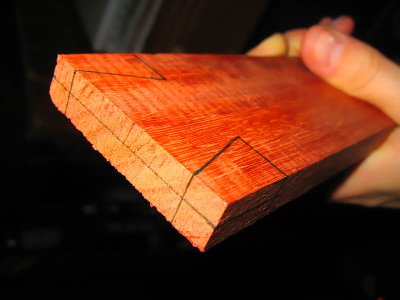
Then the one snag occurred... when releasing the newly cut tennon from the clamps, it slipped out and fell on the already done side, chipping off the shoulder of the dovetail. Damn! But, its not too bad, I can glue the broken bit in with the rest when its all layed up.
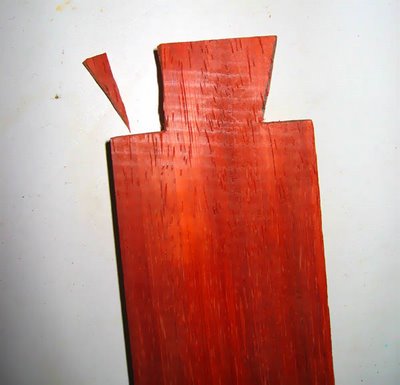
But its going very nicely, and I am super keen on how the dovetails are looking!
From the mortice I cut the day before, I cut the corresponding tennon (thing... for a rabbeted dovetail? I donno the lingo that well...). But it fit very nicely... snug without jamming.


To cut the other side's mortice, I first took the front piece (with the already done cutout) and the side piece and clamped them square using the 3-4-5 triangle trick (much more accurate then any combo square).

Then I marked my parallel lines from the front piece, traced the pattern, then began chiseling the cutout for the back piece.


Then I marked and cut the dovetail pattern for the tennon-like part.

Then the one snag occurred... when releasing the newly cut tennon from the clamps, it slipped out and fell on the already done side, chipping off the shoulder of the dovetail. Damn! But, its not too bad, I can glue the broken bit in with the rest when its all layed up.

But its going very nicely, and I am super keen on how the dovetails are looking!


0 Comments:
Post a Comment
<< Home