Stove rebuild (III)
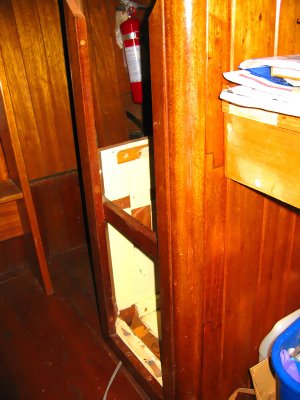
On the weekend I took the counter end apart (again). I got everything fitting well and all the finished dimensions seem alright, I just had to refinish everything so it blends in with all the other pretty wood. So I disassembled it and took it out to sand and varnish. Then I brought it in so that the varnish would actually stand a change of drying. Once dry, I reassembled everything (again) and admired it.
The spliced filler bits blend in quite nicely...

I also addressed a problem that I have known about for a while: the fact that the stove is deeper than the spot I am making. The overhang is okay, there is plenty of room in that direction, but there would be nowhere for the front feet to fasten to. I originally planned to just make the bottom counter extend out as far as I needed, but I believe that that plan would be very hard to make look nice. So, I devised a plan to build two little knees like I would have needed to put under the counter extension, but fasten them just under the two front feet of the stove. This leaves out a potentially large platter sticking out of the counter...
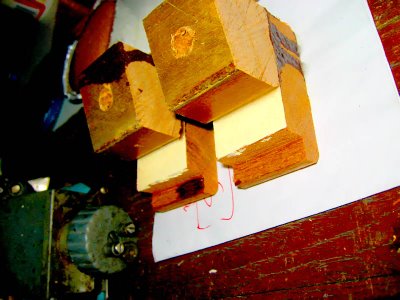
So, I began fabbing up the mini-knees:

The spliced filler bits blend in quite nicely...

I also addressed a problem that I have known about for a while: the fact that the stove is deeper than the spot I am making. The overhang is okay, there is plenty of room in that direction, but there would be nowhere for the front feet to fasten to. I originally planned to just make the bottom counter extend out as far as I needed, but I believe that that plan would be very hard to make look nice. So, I devised a plan to build two little knees like I would have needed to put under the counter extension, but fasten them just under the two front feet of the stove. This leaves out a potentially large platter sticking out of the counter...
So, I began fabbing up the mini-knees:


0 Comments:
Post a Comment
<< Home