Stove rebuild (II)
So, last night I made great progress on the rebuild of the galley counter for the stove.
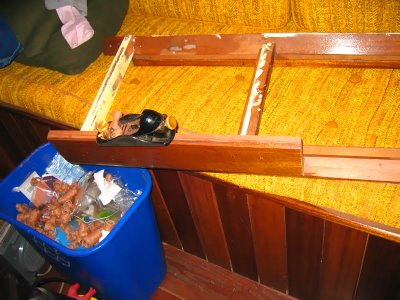
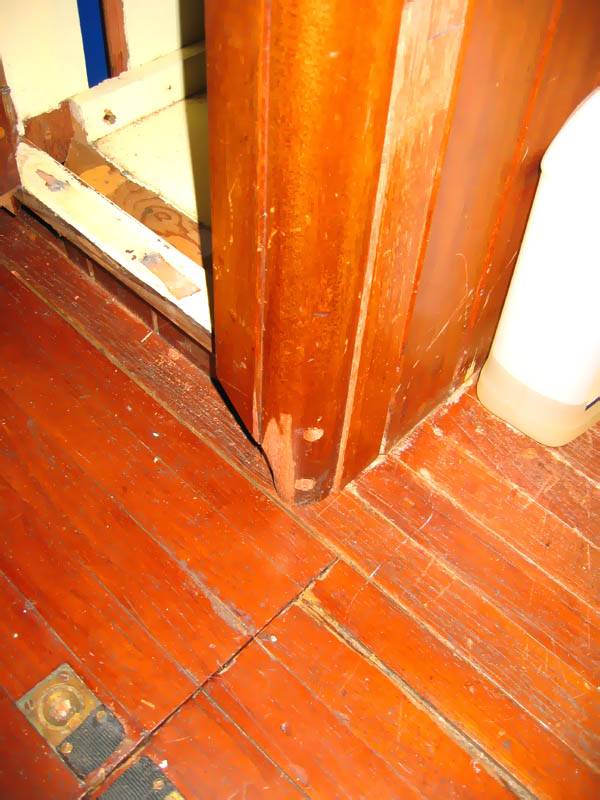
First, I rebuilt the end piece, so that I have a solid platform with which to build around for cutting the last spacer piece on the forward end.

Then on the rebuild piece, I planed the lip off of the end, so the spacer can butt right against the plank.

I also had to shave down the lower corner of the corner piece so that the bilge plank clears it... I'm not too worried about the raw wood exposed, I am probably going to refinish the whole counter-sides when I'm done.

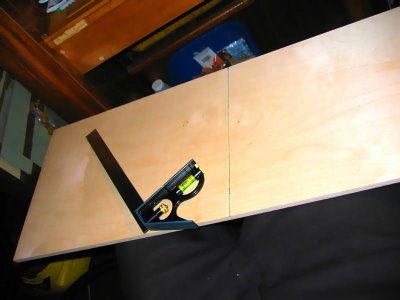
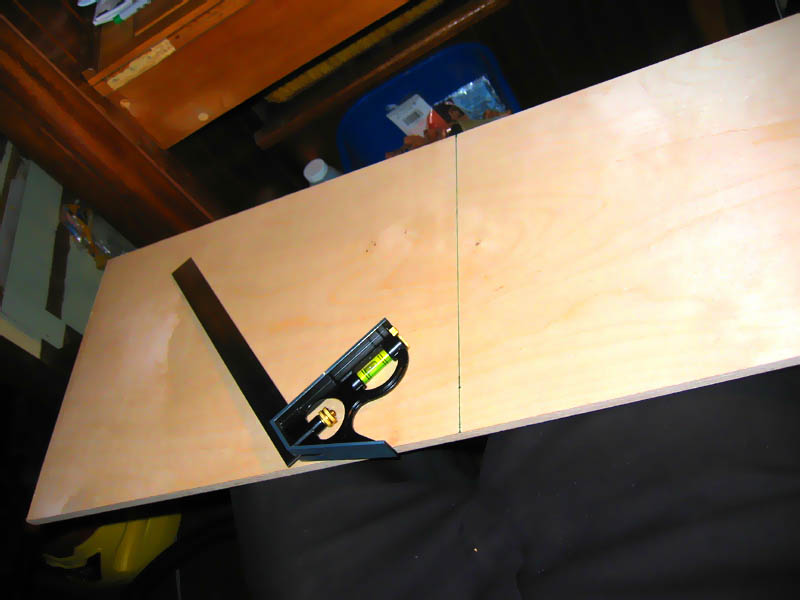
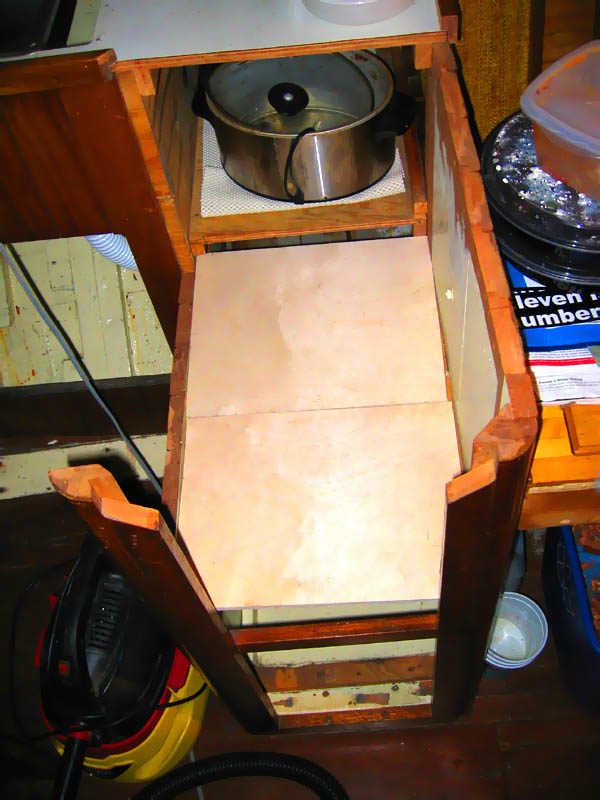
Then I cut the new ply for the base of the stove (3/8" birch).

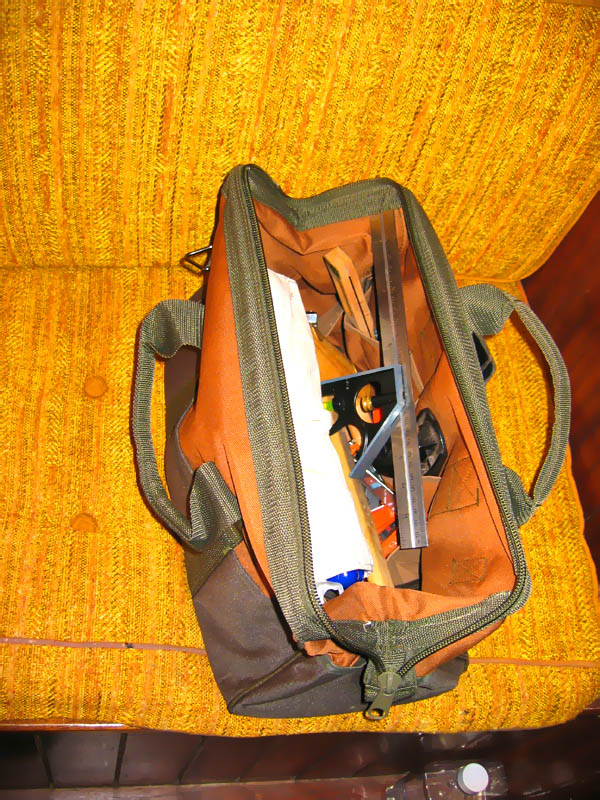
And I admired my new tool bag... I bought it because I wanted to have separate tool storage for strictly wood working tools, another for fastening and finishing tools, and a last for metal and mechanics tools... He who dies with the most tools wins.

First, I rebuilt the end piece, so that I have a solid platform with which to build around for cutting the last spacer piece on the forward end.
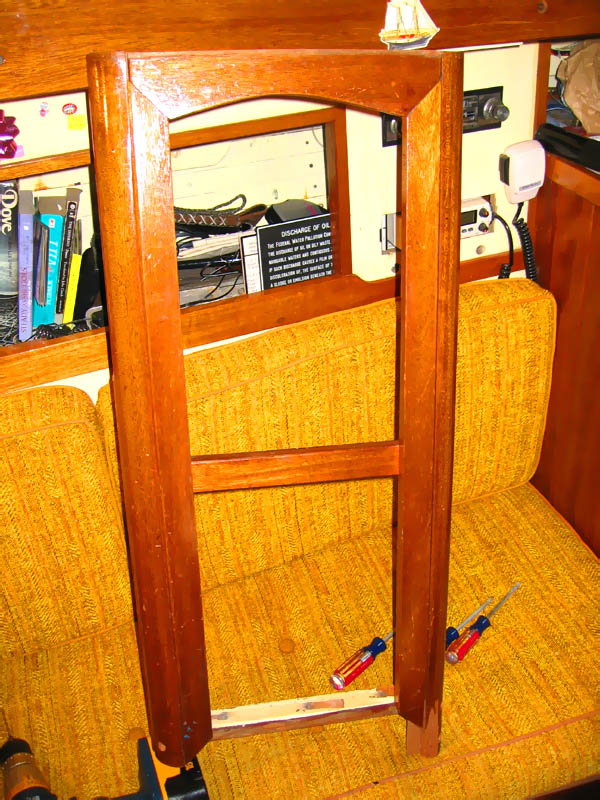
Then on the rebuild piece, I planed the lip off of the end, so the spacer can butt right against the plank.

I also had to shave down the lower corner of the corner piece so that the bilge plank clears it... I'm not too worried about the raw wood exposed, I am probably going to refinish the whole counter-sides when I'm done.
Then I cut the new ply for the base of the stove (3/8" birch).
And I admired my new tool bag... I bought it because I wanted to have separate tool storage for strictly wood working tools, another for fastening and finishing tools, and a last for metal and mechanics tools... He who dies with the most tools wins.
posted by bott at 3:42 PM
![]()


0 Comments:
Post a Comment
<< Home