Stink trim dovetail
On the weekend I also worked on making the rest of the sink trim... the next step is to put in the 'bridge piece' that separates the left edge of the sink and the top of the silverware bin. I thought it would be fun to put this piece in using a rabbeted dovetail joint. Call me a dork, but I looked forward to the challenge and learning experience.
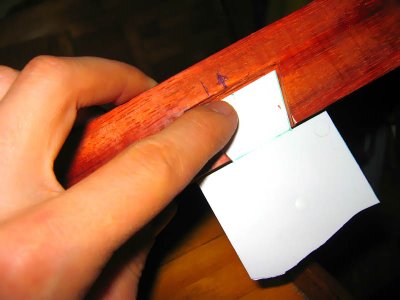
First I made a template out of a yogurt lid. This helped a lot given that the plastic is easily cut but will hold its shape really well when transferring the design.
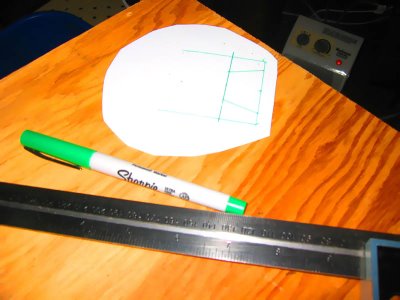
Then I cut it out with an Xacto knife and traced it onto the board... I decided to start with the 'mortise' (female) part of the joint. I chiseled away in the same method that has been described by tutorials on cutting out real mortises and dovetails.
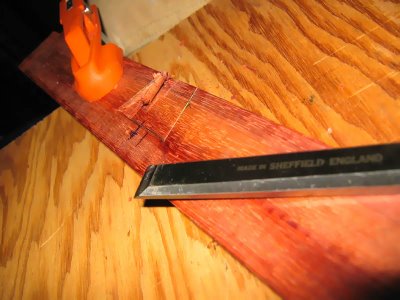
It seemed to work well, and soon I had a decent cut.
.
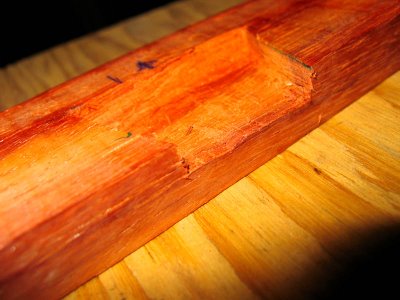
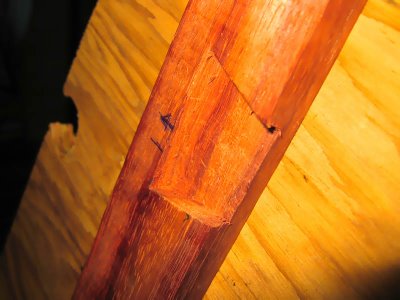
Everything looks good so far, but I don't have the final depth and 'floor' of the cut is not done yet. I think that I will begin to shape the 'tennon' part and then work on both simultaneously for a good fit.
But according to the template, the profile of the fit is looking good!
First I made a template out of a yogurt lid. This helped a lot given that the plastic is easily cut but will hold its shape really well when transferring the design.

Then I cut it out with an Xacto knife and traced it onto the board... I decided to start with the 'mortise' (female) part of the joint. I chiseled away in the same method that has been described by tutorials on cutting out real mortises and dovetails.

It seemed to work well, and soon I had a decent cut.
.


Everything looks good so far, but I don't have the final depth and 'floor' of the cut is not done yet. I think that I will begin to shape the 'tennon' part and then work on both simultaneously for a good fit.
But according to the template, the profile of the fit is looking good!


0 Comments:
Post a Comment
<< Home