Sink trim gluing
I got the padauk trim for the sink all glued up a while ago, now here are the pics.
I am basing square off of the 3-4-5 triangle marked on the two legs... here is the first joint being glued up. I let this completely cure before going on to make sure I am starting from a square foundation.
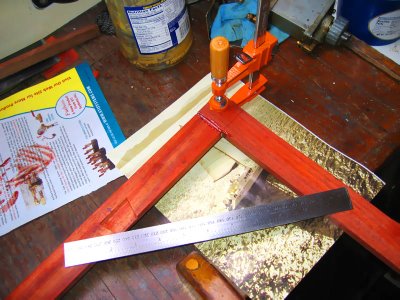
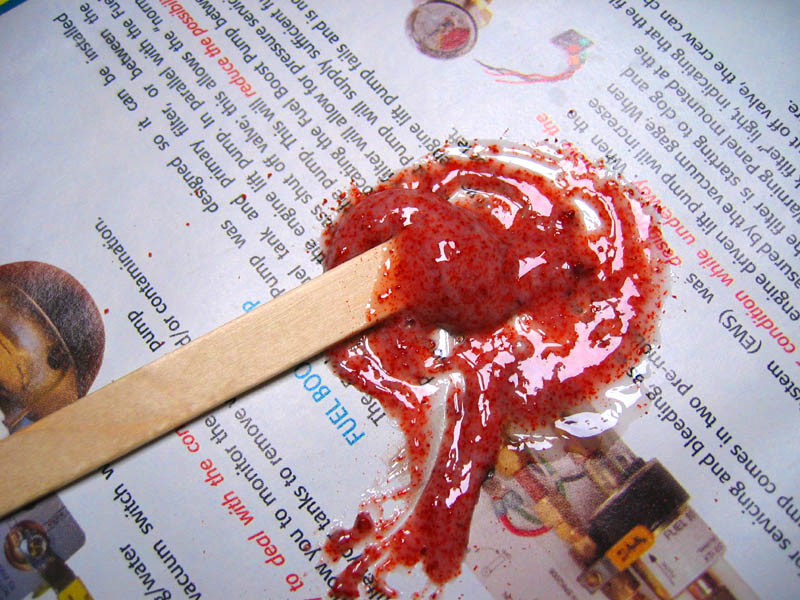
I am using epoxy thickened with sawdust I made from scrap padauk, trying to blend the colors better in the joint gaps.

I glued the other leg, then did the final fitting for the dovetailed bridge piece.

Here it is, all assembled. Nice...

Then I used my block plane and eyeball to put a nice quasi-quarterround on the edge.

Next up, sanding and sealer coat...
I am basing square off of the 3-4-5 triangle marked on the two legs... here is the first joint being glued up. I let this completely cure before going on to make sure I am starting from a square foundation.

I am using epoxy thickened with sawdust I made from scrap padauk, trying to blend the colors better in the joint gaps.
I glued the other leg, then did the final fitting for the dovetailed bridge piece.

Here it is, all assembled. Nice...

Then I used my block plane and eyeball to put a nice quasi-quarterround on the edge.

Next up, sanding and sealer coat...
posted by bott at 12:03 PM
![]()


0 Comments:
Post a Comment
<< Home