A blog to document the work done on my wooden sloop, Danneskjold.
Friday, December 29, 2006
Trim installed
I got the trim for the sink installed. It feels good to get one of the projects off the table (though there are a few little details left, which probably will take three more months).
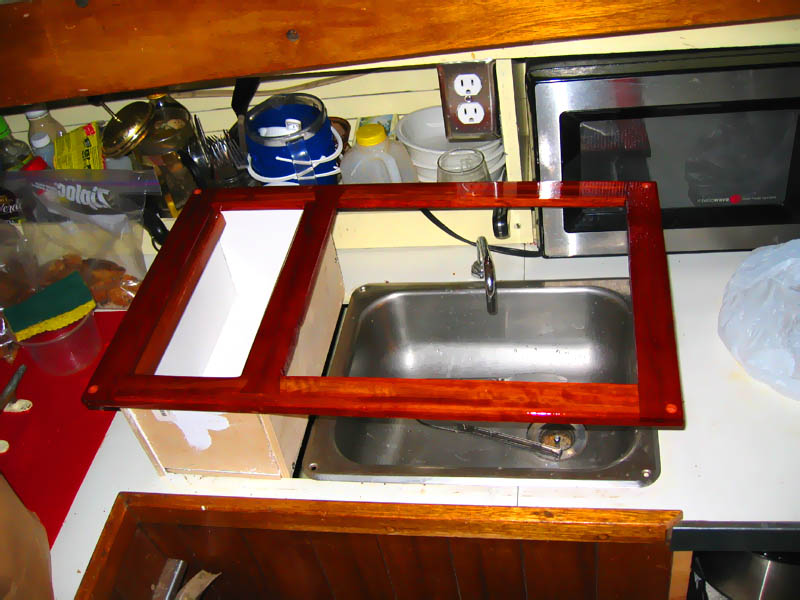
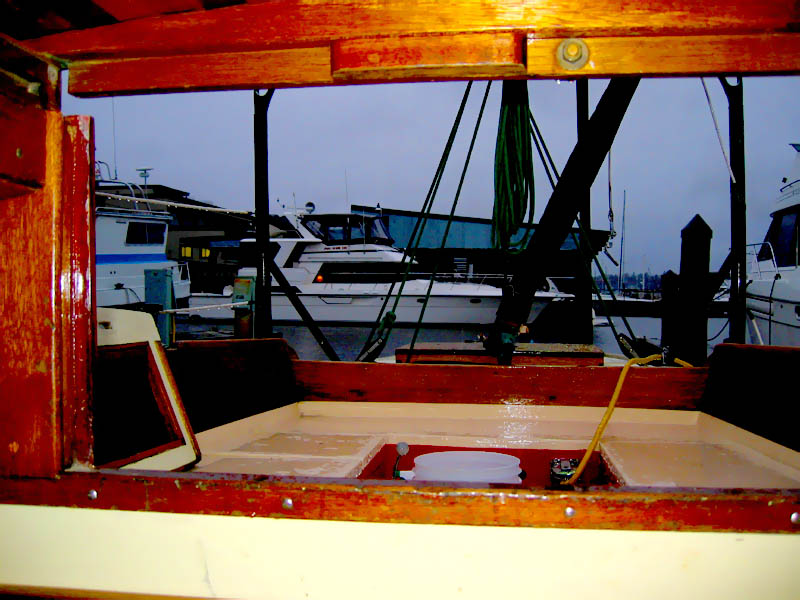
Test fit:
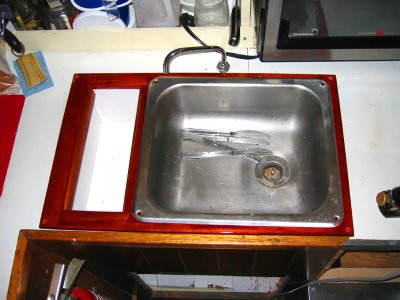
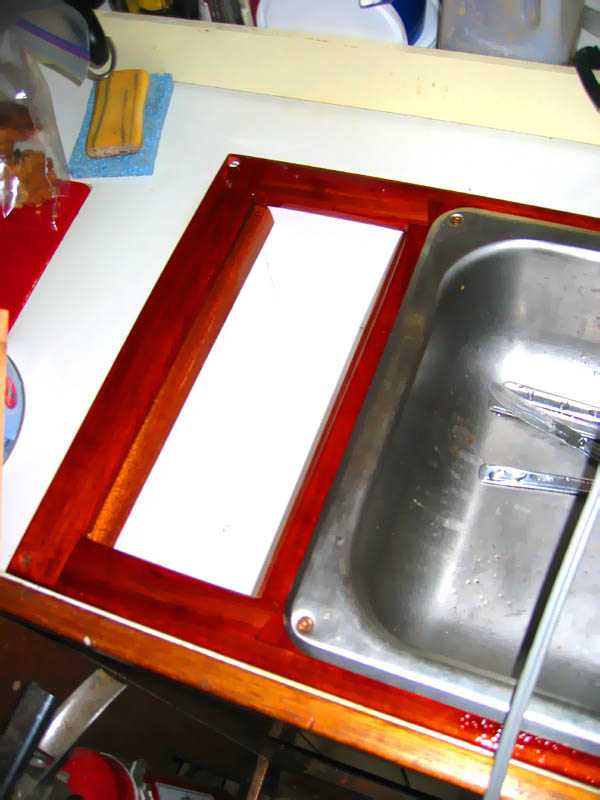
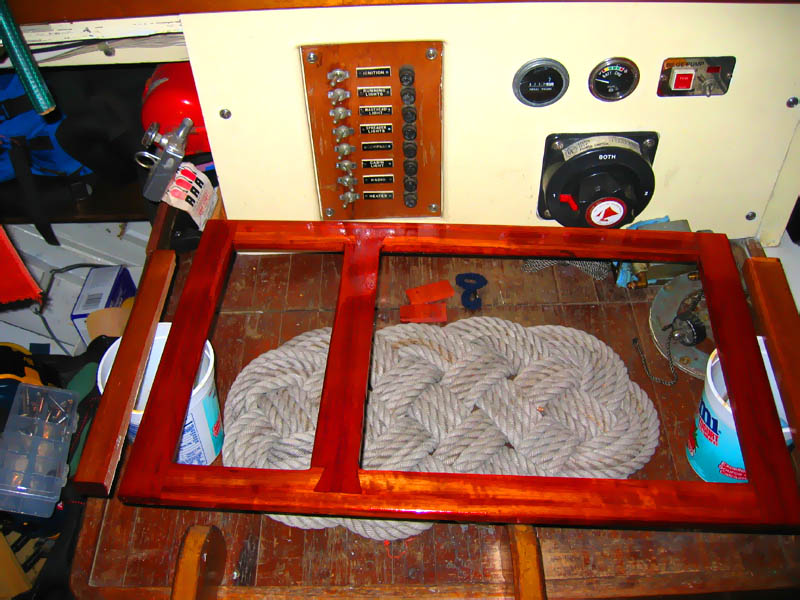
And in! I'll post some with the lid in place, but it fits like a champ, and looks killer!
Its hard to see in the picture, but the silverware tray is ~5" deep... plenty of space.
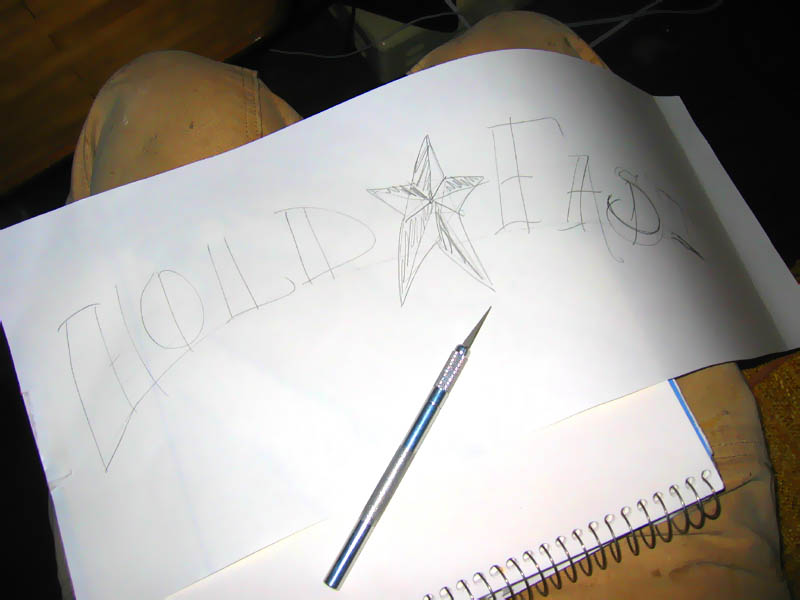
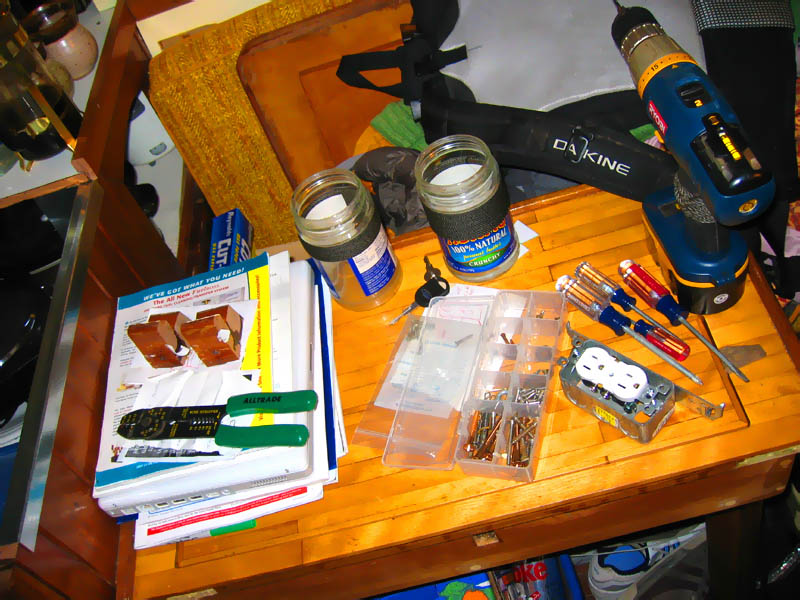
I got a new tool box yesterday... decided to christen it with a new stencil.
We had some old chart bits lying around (expired ones from Cass's work, only to be used as wrapping paper or other non-navigation things). I figured that the thick material would make a good stencil.
It did.
The pics are pretty much the rest of the story. The saying is hokey, but I don't really care that much.
I took the laminated silverware tray lid out and attached it with some 100 grit on the PC sander... I still have some evening out to do (the locust is so much harder that its hard to sand the end grains even), but its looking great.
I am becoming a big fan of black locust (structurally and aesthetically).
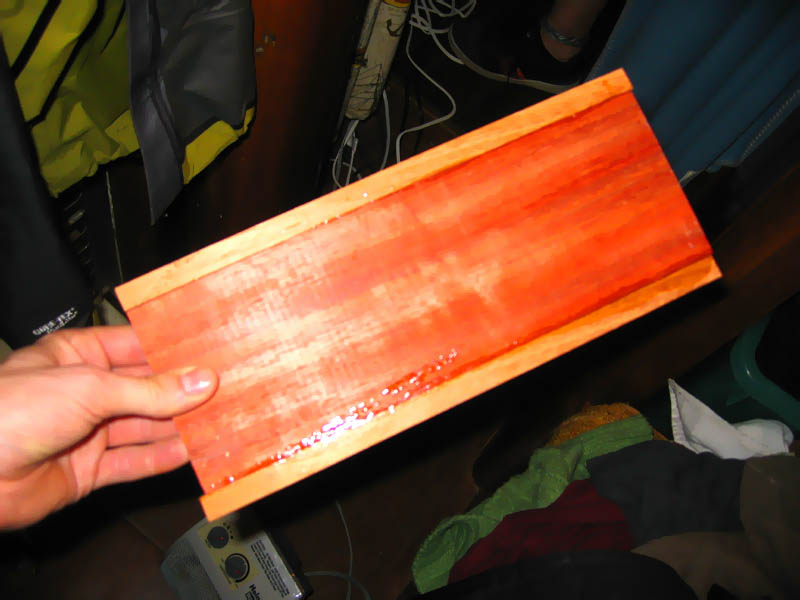
So, I made the silverware box out of some recycled ply from destroying the galley. It looks pretty crappy from the outside, but I believe that once it's finished, the inside will look good.
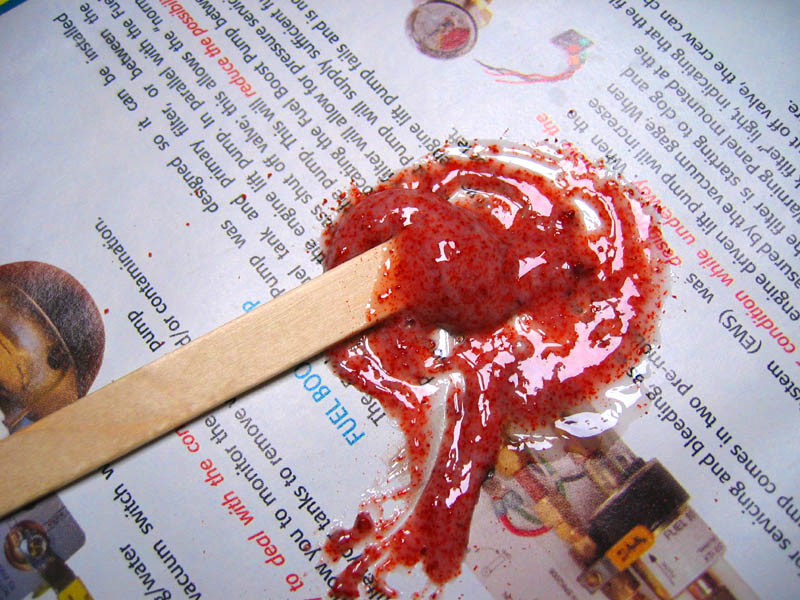
Once it was assembled, I mixed up some epoxy for fill in the gaps (to make up for my sloppy carpentry).
I still had plenty of thickened epoxy left over, so I decided to coat the whole inside with it... maybe make it more durable for utensil storage...
But I think that my epoxy being stored outside made it change chemically. I only had slow hardener, so I put the thing next to a space heater to aid in the cure. But, this morning its still a bit gooey...
I guess if it never cures, I'll just start over and build a better one from the get go. It will probably be all for the best.
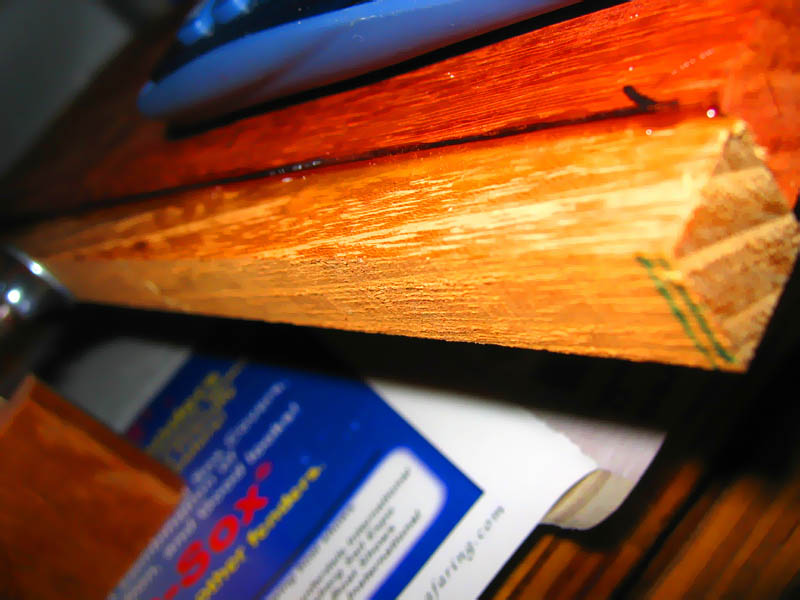
I'm just planning out the silverware tray lid on the sink trim...
Considering the available wood around the boat, I think its going to be a padauk center with black locust strips along each side (but not the top and bottom, I think that'll look slicker).
Here's just a preview holding a strip against the padauk center, there will be one the other side of course...
After all the glue on the sink trim was set and the gaps were filled, I went over it all with 120 grit on a RO sander to smooth everything out. I followed that with 220 and a wash down. I moved the project to the inside (read: warm) and applied the sealer coat before the varnish.
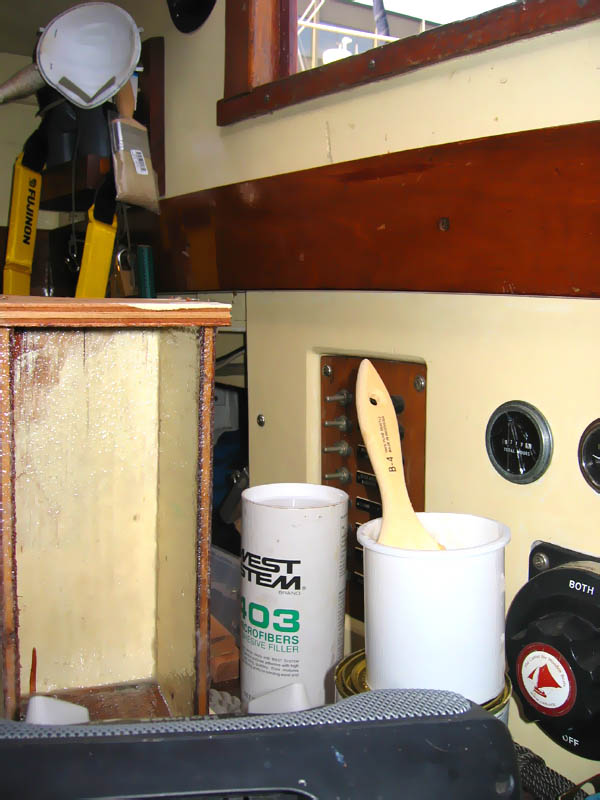
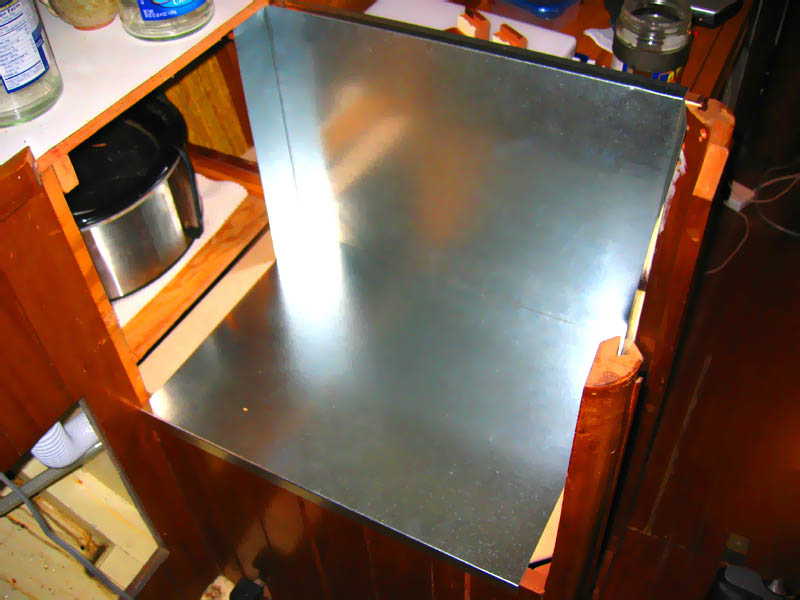
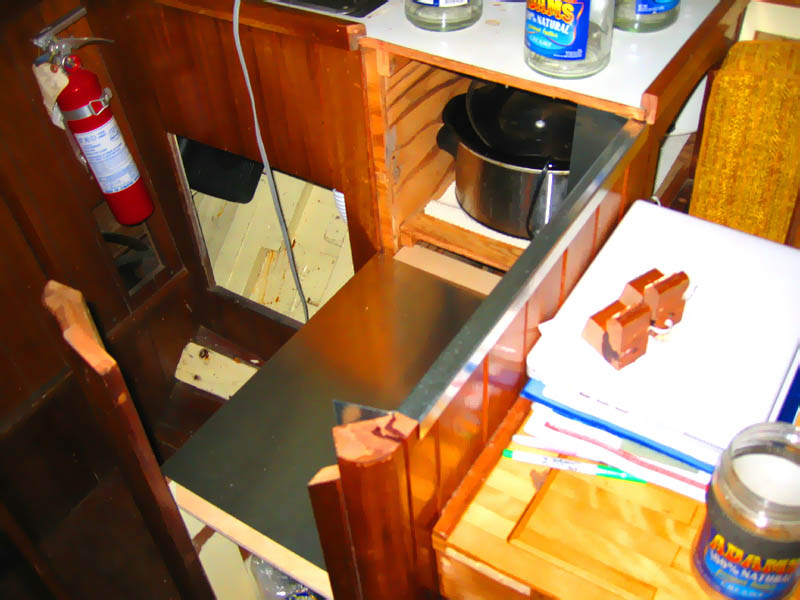
I brought another piece of sheet metal to school the other day to continue to do the heat shielding. Doing it one small bit at a time now will (I think) make everything fit better, I've already got all the big bits in, and I want the details to look good.
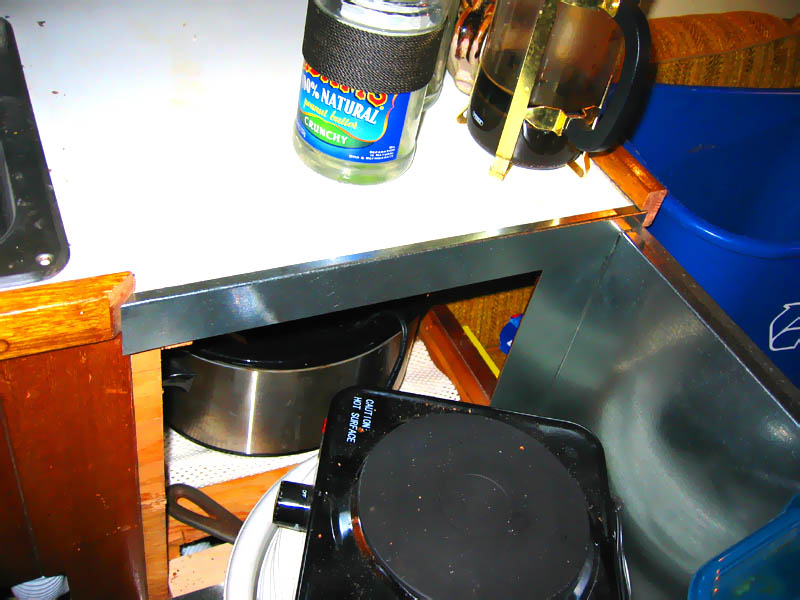
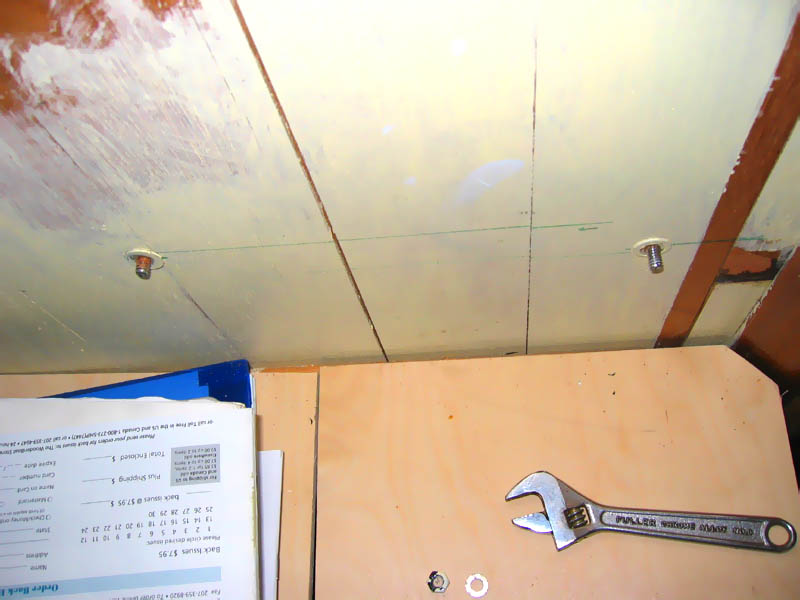
Here is the piece of metal with the cut and bend markings on it.
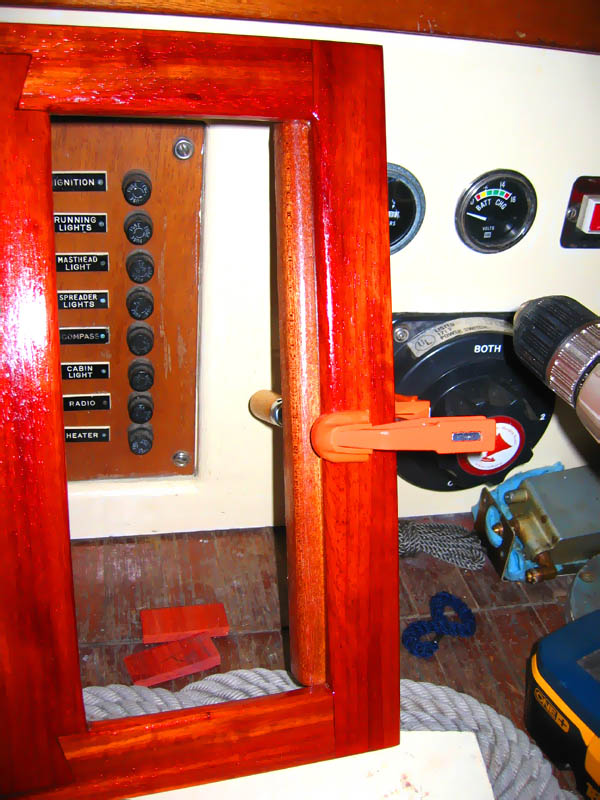
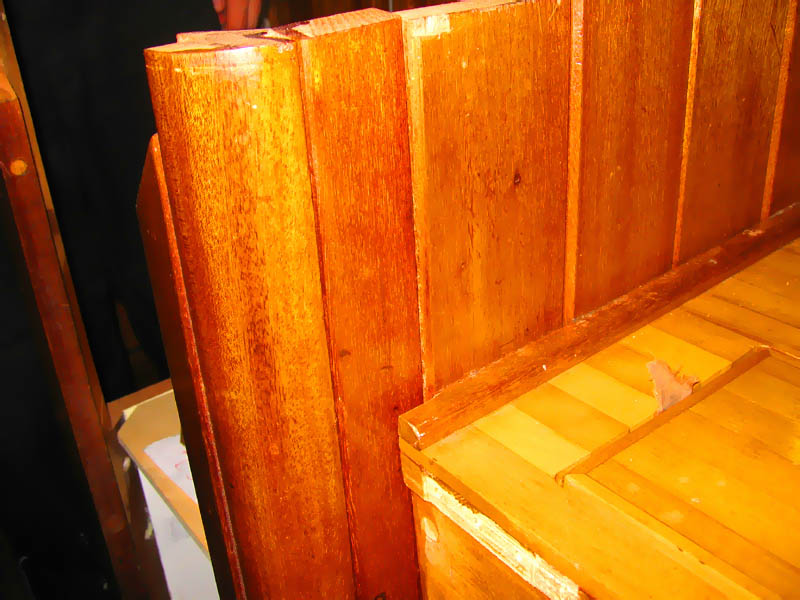
And here is how it fits, the major part of the fabrication was to make it tuck just right into the upper right corner in the picture, and keep the trim looking congruent.
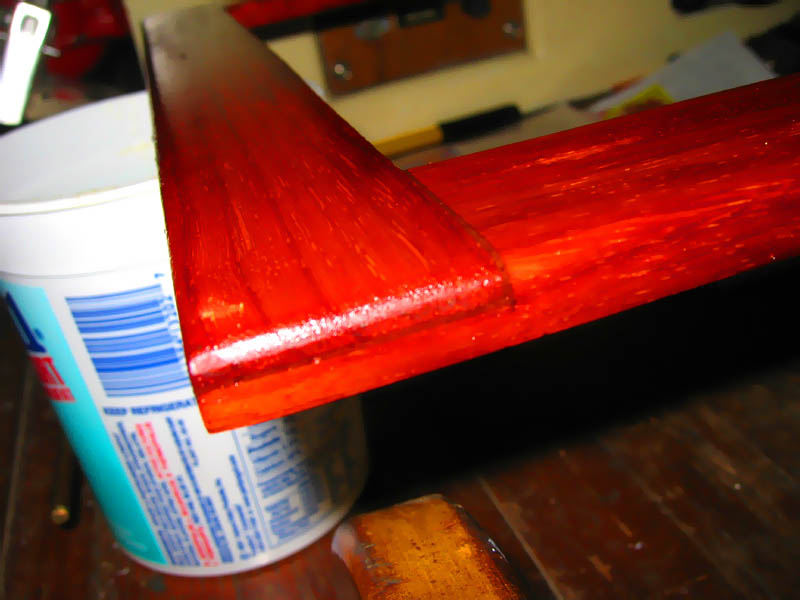
Here is a close-up (and slightly blurry, sorry) shot of the corner. The end grain of the trim is going to be rounded out and varnished to make it flow purposefully.
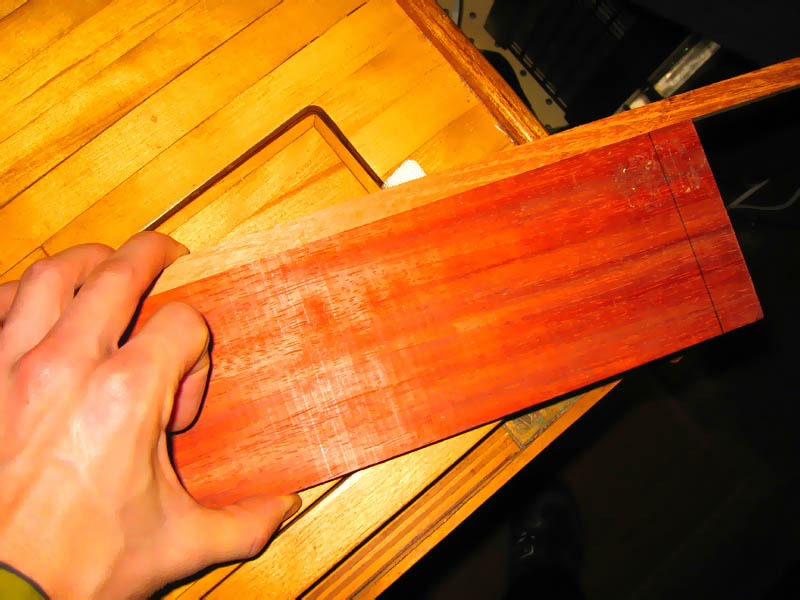
I got the padauk trim for the sink all glued up a while ago, now here are the pics.
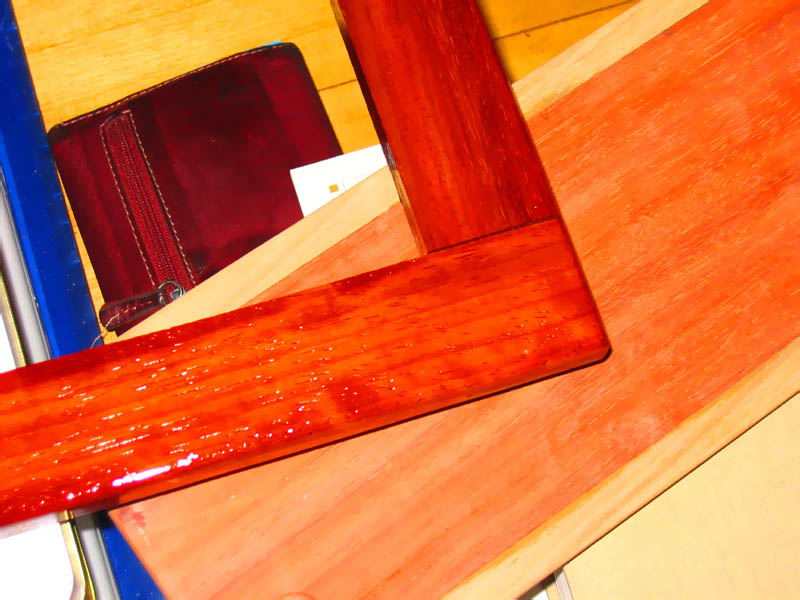
I am basing square off of the 3-4-5 triangle marked on the two legs... here is the first joint being glued up. I let this completely cure before going on to make sure I am starting from a square foundation.
I am using epoxy thickened with sawdust I made from scrap padauk, trying to blend the colors better in the joint gaps.
I glued the other leg, then did the final fitting for the dovetailed bridge piece.
Here it is, all assembled. Nice...
Then I used my block plane and eyeball to put a nice quasi-quarterround on the edge.
Along with needing to move the outside of the stove hole out, I also needed to move the table attached to the other side out too.
Here's why: Below you can see the 1 3/8" extra strip I put in to extend the wall. The table attaches to it, and what should be attached to the table is a drop leaf. The leaf will not fit as it is pictured, because the edge of it needs to hang around the edge of the wall a bit (more near where the quarter-round post is). So I ether needed to make the leaf narrower, or move it out with the table. I didn't make my decision until...
I saw that I needed to drill the bolt holes that hold on the table through the sheet metal for the heat shield. I decided to drill the new holes with all three layers in place so its much more likely to get everything to line up... and if I'm drilling new holes, might as well make them with the table further out.
So, I took the table off, remarked the holes, and drilled away. Simple.
The first thing done on the weekend was something that has been on my list to-do for a while now: get an outlet wired up in the forward end of the V-birth. I only had two outlets and the forward-most one was at the main bulkhead, making plugging anything in (see: space heater) where we sleep a pain.
So, I finally got it wired up. Its on the same circuit as the other outlet though... there isn't any other high load on it other than the space heater.
In a bit of boredom, I decided to paint the lower inside of the rebuilt cabinet. That space was never really used to its fullest, and it was a little dingy. I need it for storing dishes and the like, so it needs to be clean and hygienic.
So, I got out the white paint that came with the boat and went at it. The paint is pretty old and crappy. It takes a lot to actually full the brush with pigment and not just medium and solvents... but after another coat it should look good. Ready for some dishes.
And I got minimal paint on my hands.
This was all done at about 10:30 Saturday night... like I said, boredom.
Last night I did the test fit for the stove heat shielding metal... it went pretty well. I am realizing that to make a really pro looking job, there are a number of small pieces that need to be fabricated to cover all the little nooks and crannies.