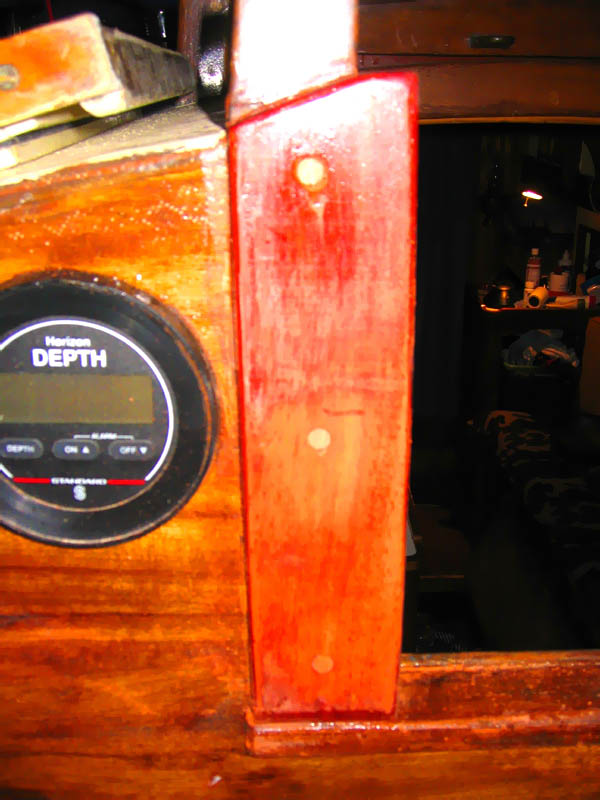
Tuesday, August 29, 2006

Tape and holes

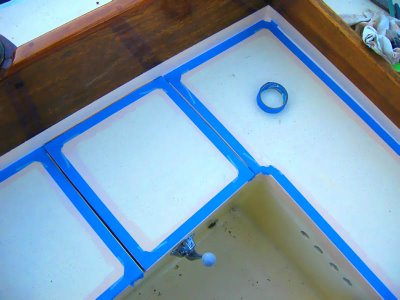
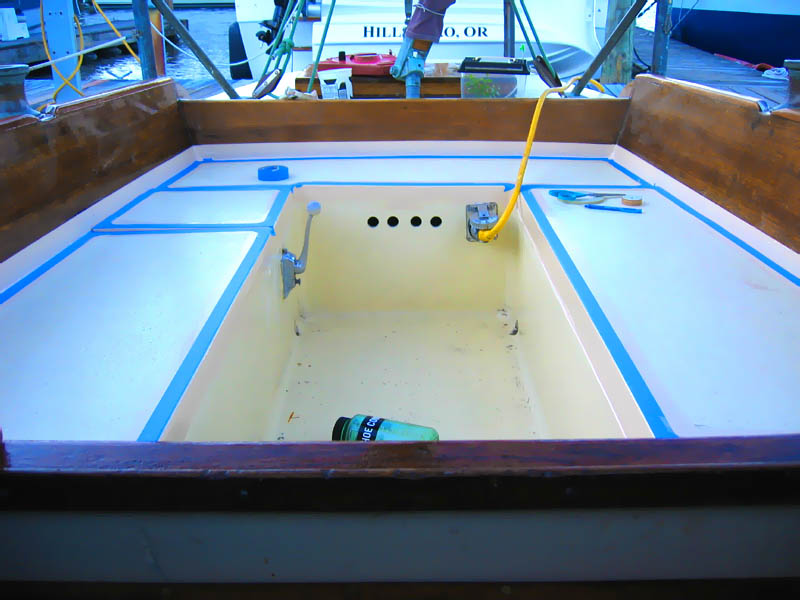
I've been painting the cockpit more. Last night Cass and I masked the tops of the benches for the nonskid. I used FineLine tape and a little circle template to make the radius corners good looking. I'm pretty happy with it, I can't wait to get the nonskid paint on.


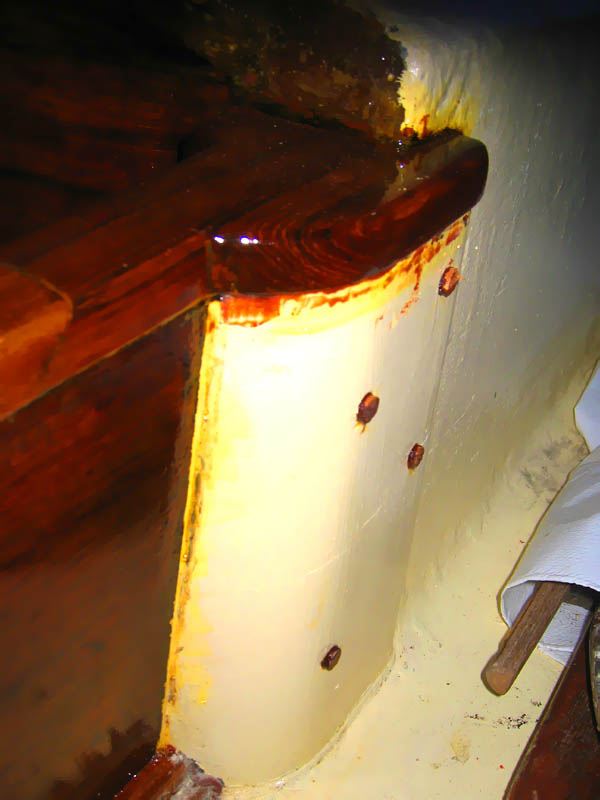
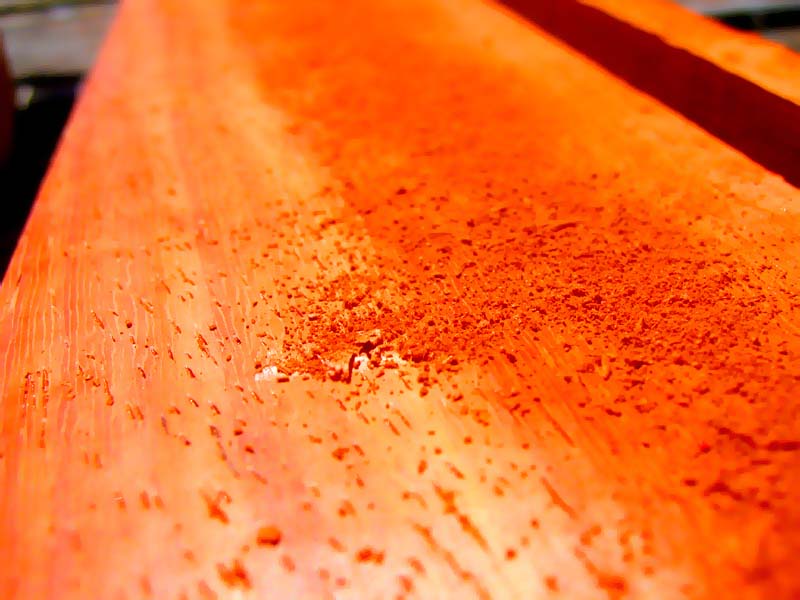
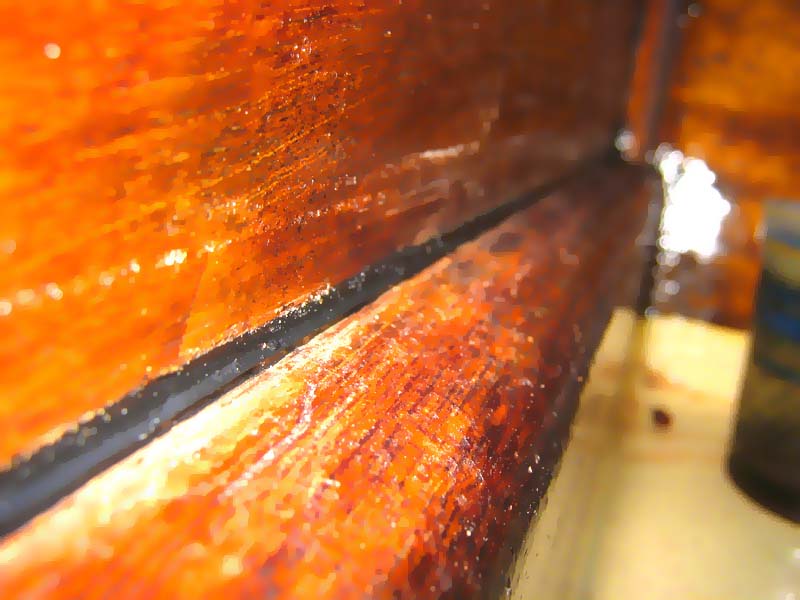
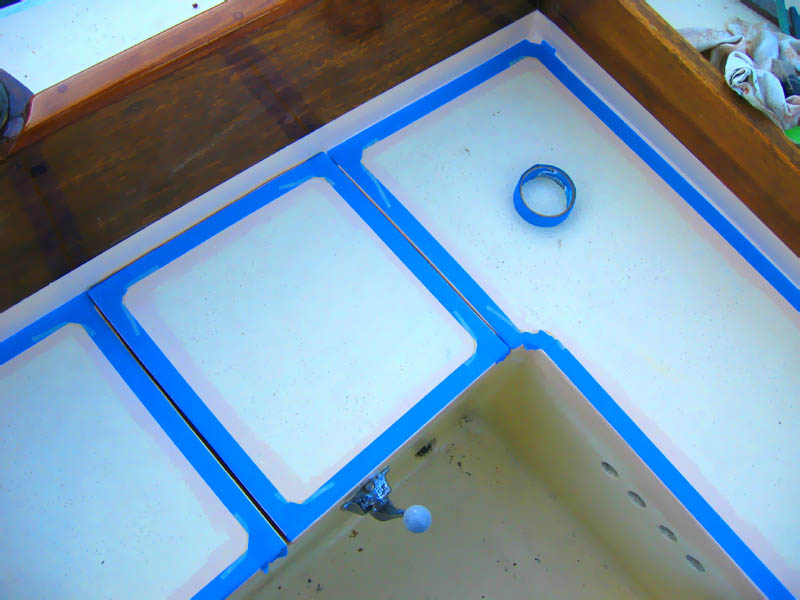
Here is a close up of the FineLine curves.


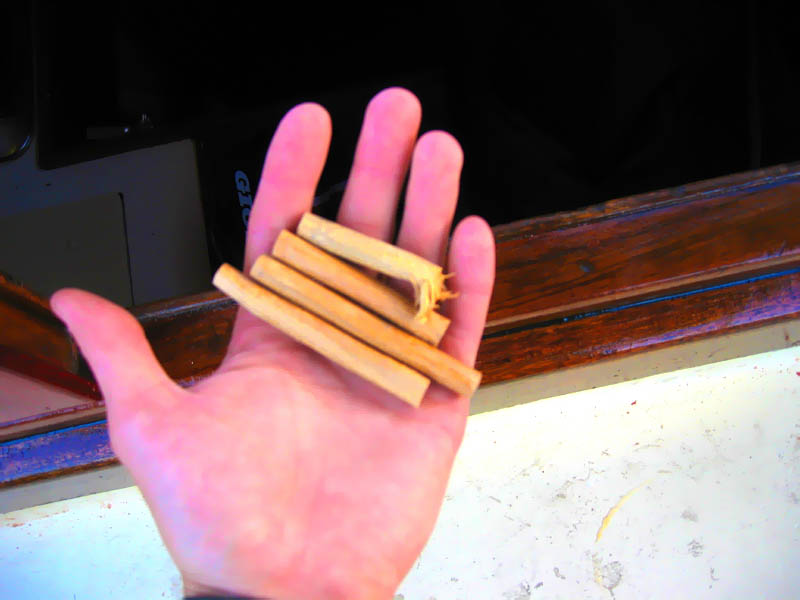
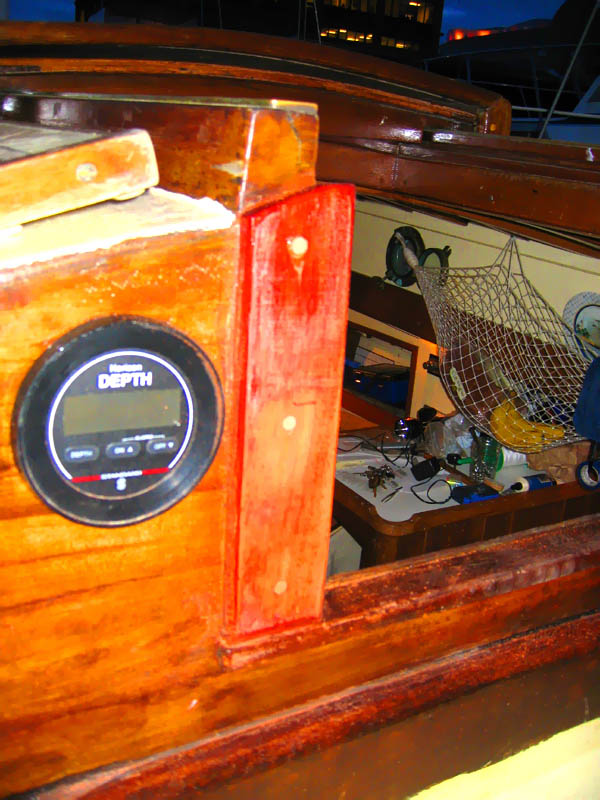
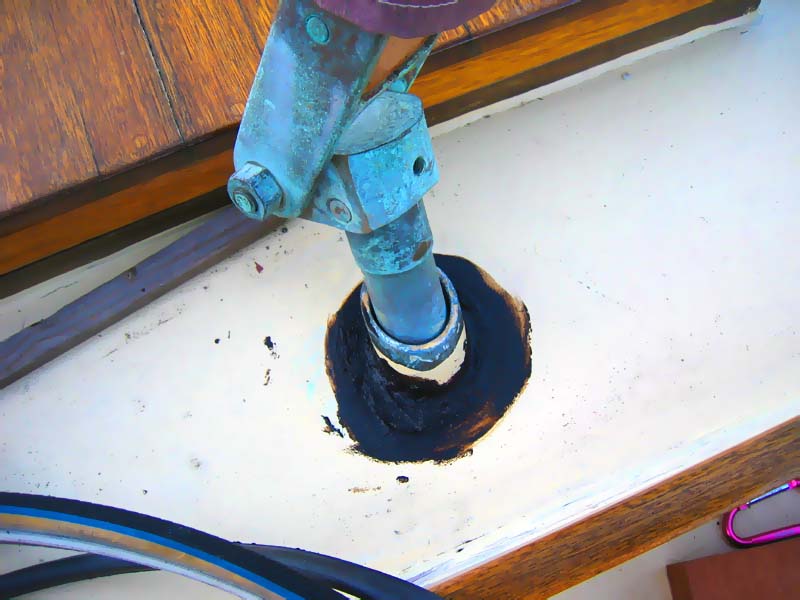
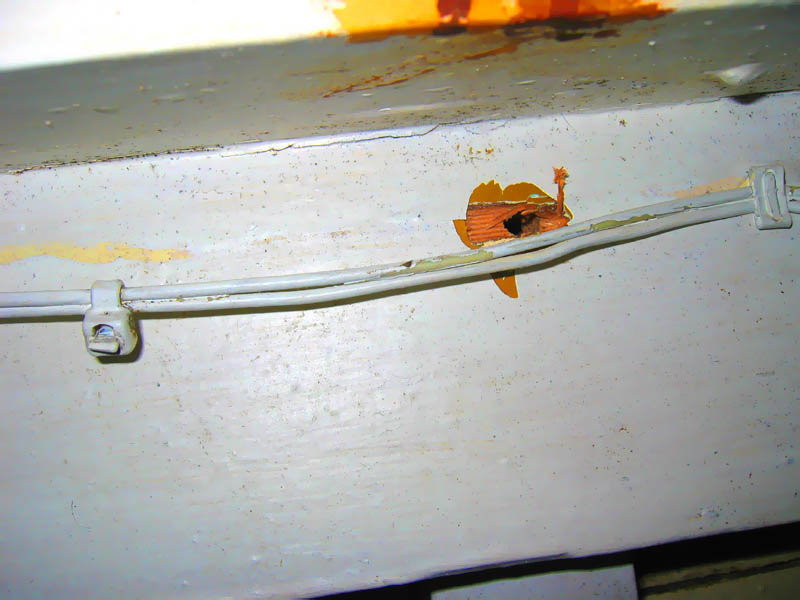
I also did a little task that has been making me sweat for quite a while now. I finally drilled the first pilot hole for the new fasteners. I only did one, but I just wanted to prove to myself that I can correctly drill the holes. The thought of making the nice long hole in the boat and have it be all messed up is really scary.

So, I lined up the hole with my sliding 'T' bevel just below the drill. I sighted down the bit and adjusted it left-to-right while Cass held the bevel and gave me instructions on the level up-and-down. I drilled the hole, and ran into the boat to see where exactly I ended up on the inside. At first I could not see it, and I got really concerned about what I had done. But then, under a set of DC wires, I saw it. Basically where I intended it to be. Awesome.


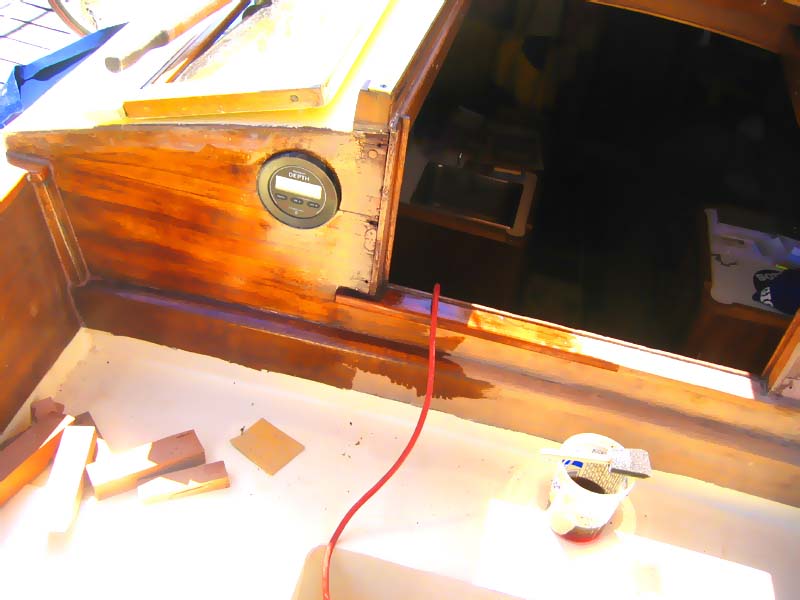
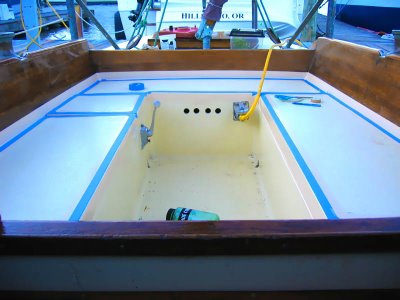
There it is! Behind the wires!


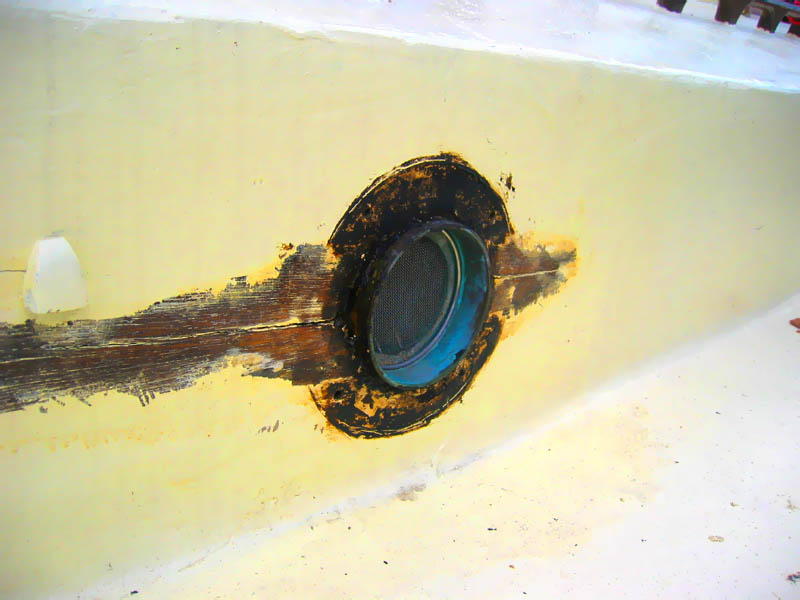
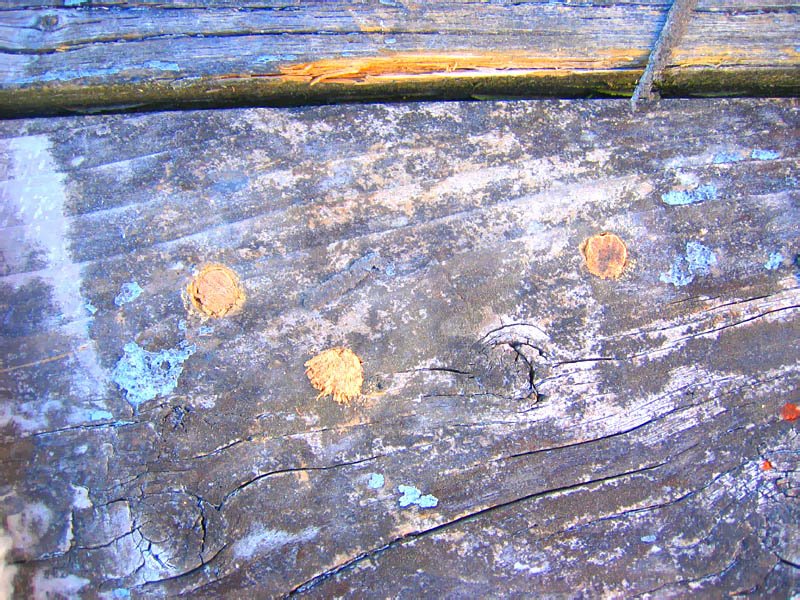
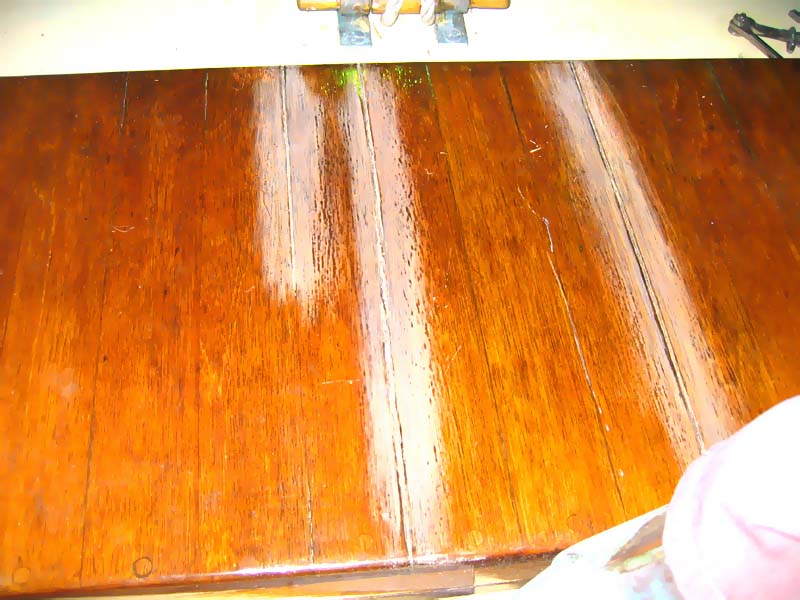
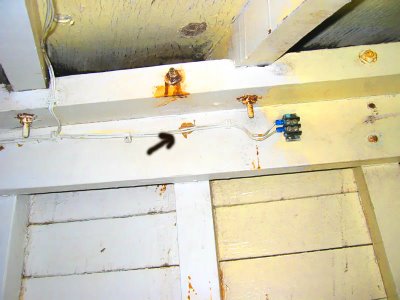
Zoomed out, so you can see the shelf and clamp (arrow pointing to the hole)... Never mind the rust streaks, they are from a past era when the boat leaked and the wasted bolds are being replaced.

Friday, August 25, 2006

Basic work

Simple stuff last night... I sanded and preped the cockpit, and Cass taped it up the new paint:


And I repainted the locker tops:

The new color is really pink looking, but I'm sure that because I am comparing it to the yellow based topside color that's on the boat now.

Thursday, August 24, 2006

Cabin side crack

I have also been dealing with little leaks from the cabin sides. They mostly went away at the beginning of last winter just due to the fact that the wood swelled shut from the water, but that fix is not good enough to let me sleep at night. Water getting into the wood is bad!

I have already re-bedded this portlight before, but the crack has grown throughout the long, dry summer. I want to patch it up. So for now, I took off the flange from the exterior and scraped away the paint around the crack, and now I am soaking the raw wood with linseed oil, sea-fin, turpentine mix hoping to let the wood drink up and swell the crack shut. Then I plan on filling what is left with either topside seam compound or roof patch and then repaint to hopefully seal it all in. This should not only fix the leak, but also make the wood more stabilized to the seasonal shrink and swell.

We'll see, but I believe this is the way to go, besides replacing the whole bit of wood, which I think is a bit drastic and unnecessary, but it would work!

Here are some shots of the wood:

You can see the drooly marks from slathering on the oil mixture, or as I've heard it called, 'Boat Sauce.'

Paint and prep

Yesterday Cass and I went to Fisheries Supply and got some paint for the topsides of the boat. I got a classic beige for the nonskid and deck color, and the red for the trim/highlight color. We are going to paint the inside of the footwell red, as well as the toerails, when they go on.


We also gave the cockpit a good scrub down in preparation for painting... here is what the bottom of the footwell looked like when we removed the grating.


After we were done, it looked much cleaner but I didn't get a picture. But trust me, it did.

Also, Cass got another coat of varnish on pretty much everything we've been coating lately, and the cabin side is looking better and better.


I can't wait to get the topsides another classy looking color other than the nasty off-yellow it came as...

Tuesday, August 22, 2006

Lady Washington (again)

Still a lack of major work being done on Danneskjold... but the Lady left this week, so maybe I will be less distracted.

Nevertheless, here is some shot of her sailing on the lake to hold you over.

Friday, August 18, 2006

Lady Washington woodwork

Yesterday I rushed home from work, grabbed my woodworking tool bag and rode to the Lady Washington to help them with a woodworking project. Their bell rail beam was rotting and they had the guys at the seaport make a new one, but it happened that the mortise in the new rail was off about 1/4" from center. When I asked JB (the current captain) if there were any projects that could be worked on while they were in town, he asked me to square up the rail and make shims for the missing wood.

I got mostly done yesterday, but I left when I was no longer working efficiently due to lack of dinner. But I got the mortices in the rail opened up to the right offset, and I made 2 of the 3 shims.
Here is the bell rail with the top part off... note the white borate salts packed in the rot holes, and the missing corner of the tennon. That is the third shim I need to do... fill that space.

Here is the work opening up the sockets:

I was pretty pleased with the second mortise... I got a nice flush face and nailed the 90 degree bevel on the first pass.

My mess...

And the bell rail, well centered after the evenings work.

Thursday, August 17, 2006

Silence...

The lack of posting is, in general, due to the fact that the Lady Washington has been in town and I have been spending all my free time after work hanging out with those salts.

So, sorry. Danneskjold is getting a little beauty sleep. I am taking a little break.


Expect more soon. I almost have all the confidence built up to start drilling pilot holes in my hull for the trunnels and through-bolt fasteners.


Tall ship sailing kicks scuttle! Photo by Capt. Mason Marsh.

Monday, August 14, 2006

Trunnel experiments

I got the black locust this weekend. Nice stuff, golden yellow, and very heavy. Jeremy at CWB was kind enough to spend a few minutes on the tablesaw for me cutting them into the ~3/8x3/8" squared, that are then pounded through the dye to make the round trunnels.


And now begins the trunnel width to bore diameter dilemma. Its basically trying to make sure that the trunnels are wide enough in the hold to fit snugly and hold their grip (necessary for it to be a fastening) but not too snug, or they will just crack and break while trying to pound them in. The dye plate has holes from 3/8" to 7/16" in 1/64th increments. Add to this the irregularities in bored hole diameter between high-speed twist bits, forstner bits, and brad point bits. The former makes the largest hole, the latter making the tightest, or most precise to the claimed diameter on the bit (from my experiments).


It looks like the second to largest hole in the dye combined with the brad point drill bit makes a really snug fit without breaking the trunnels too much. But in the smaller test bits I used, they split the wood really easily. I wanted to practice on a full size piece of wood, but I didn't want to sacrifice any of the good, large bits I have. So I practiced on the dock (I hope my marina manager is not reading this...). That's how I came up with the seemingly right combo.

Fairing dutchmen

Soo... basically I took out the block place and faired out the dutchmen. The caulking bevel is looking good, and once they are refastened, should be ready for caulking and paying. This was done a while ago, but now I have a pic.

Friday, August 11, 2006

Quickie

Not too much work last night.

The black locust should be arriving soon. So, today I drilled some more holes in the dye plates... hopefully will give me some more flexibility in making the trunnels.


And I think I will buy a set of brad point drill bits today as well from Hardwicks. They seem to be the most recommended thing for drilling straight, clean, and accurate (width) holes in wood.

Thursday, August 10, 2006

Warning, this post contains lots of bungs.

This round of after work productivity on the boat focused on bunging thing. Yes, you heard it. Bungs.

I bunged the coaming trim piece (that has gone without bungs for months now).

And I bunged the last few holdouts in the hatchboard holder padauk bits.

I also sanded down the set bungs to see what kind of contrast the padauk boards with the mahogany bungs creates. I’m liking it.


Bung.

Wednesday, August 09, 2006

Hatch cracks

Last night I was pretty unproductive on the boat, but I did manage to get some epoxy/woodflour fill placed into a large crack that had developed in the laz hatch. I sanded down the varnish and picked out old bedding compound with a chisel and small screwdriver. It was not unlike reefing a seam, I wanted to make sure that I had a clean, even crack to fill. Then I just mixed the pack of epoxy and woodflour (form a hunk of mahogany I had leftover from the graving block project, excellent color match!) and packed it into the seam.

According to Rebecca Whitteman's brightwork book, that mix should allow for enough flexibility for the wood to flex with the seasons. I am concerned that the filler will be too stiff, and cause more checking when the wood swells and such, but it seemed like a good try considering most other fillers I had would look bad under varnish.

These little Double/Bubble 5 min epoxy packs are pretty sweet. They make little patching projects like this go really smoothly.


I guess these two before and after shots look pretty much the same... but here it is:


Now just to sand them down and put some more layers of varnish over the beast.

Tuesday, August 08, 2006

Button

I made a button for the blog if anyone feels like doing some visual advertising for me. I donno why one would feel the need to, but I won't deny it.

Just some good pictures

A good friend of Cass's and mine came to visit before a departure to New York.

There was:

Chilling in the hold.


And drinking some beers.


Good times.

New hatch board holder thingys...

So I needed some project to lift my spirits while I wait for my black locust to arrive and I worry whether this hair-brained trunnel thing is going to work out. So I replaced the cracked and nasty boards that hold in the hatch board from the outside. I am re-varnishing the area as well, so not seemed like a good time to tackle it.

I went to the hardwood shop and bought an beautiful piece of padauk, a lovely deep red. I've heard that it gets better with a little varnish... I hope so. I basically made some crude measurements, cit the basic shape with my ryoba saw, then started shaping the pieces with my block plane and sand paper. They are not perfect, but I like the beefy, somewhat crude look. Here is the house with the old bits removed. I also started to seal the mahogany with linseed/tung oil mix, getting ready for varnish too.

The padauk is amazing. I not too sure about its ability to withstand the marine environment, but it shouldn't be too bad, it seems to be known as a very robust wood.


The shavings and sawdust from the wood was so cool.

Here are the "matched" bits. And installed! Beefy.


I am also using mahogany bungs in the pieces. I think it'll add a cool contrast.


Last night's projects

Last night I simply worked on little odds and ends. Mostly involving patching things up.

I cut off a whole ugly pile of 5200 from around the rudderpost at the deck. For all the goop that was there, it wasn't sealing the hole. I think that basic roof patch is a good thing to use here, and the less 5200 I have on the boat, the better I feel.


And now, to make myself a hypocrite, another project was to seal the seam in the wood at the base of the aft house. For this I used 5200 (yeah yeah..). I just don't think that roof patch or dolfinite would work well here, considering that it will be varnished over and I don't have access to the full faying wood surfaces, so I can't truly re-bed them now. So a good stick-um should be the ticket.

Wednesday, August 02, 2006

More work...

Last night I removed the wedges holding the graving blocks in while the epoxy cured. They were minimally glued in as well, and with a little convincing with my reefing hooks and chisel they came out just fine. Then I planed them down flush... just a little paint and they should disappear into the fair curves of the hull.

I also seem to have found a connection for buying black locust... a saw mill in Idaho seems to have answered my call. Everyone go to rusticmill.com and buy some wood, Steve may have saved my boat! Not quite, but its a biiiig help.