Monday, July 31, 2006

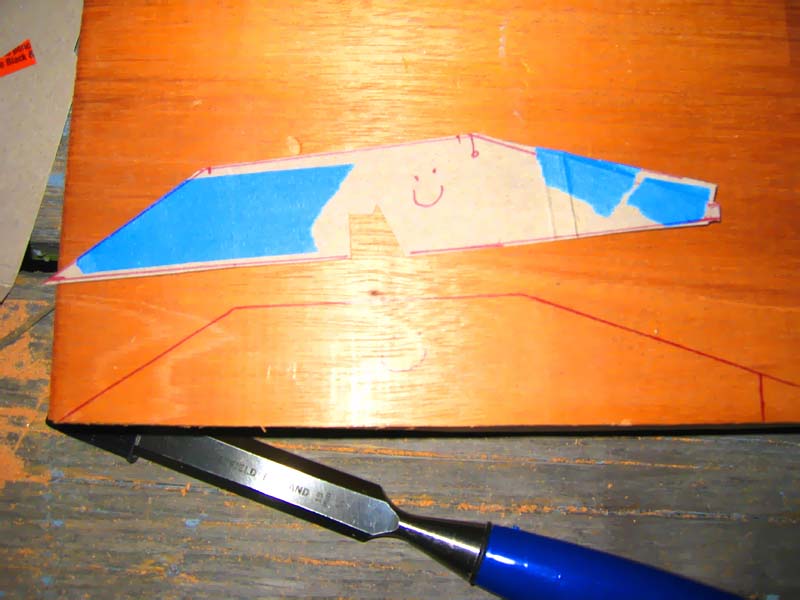
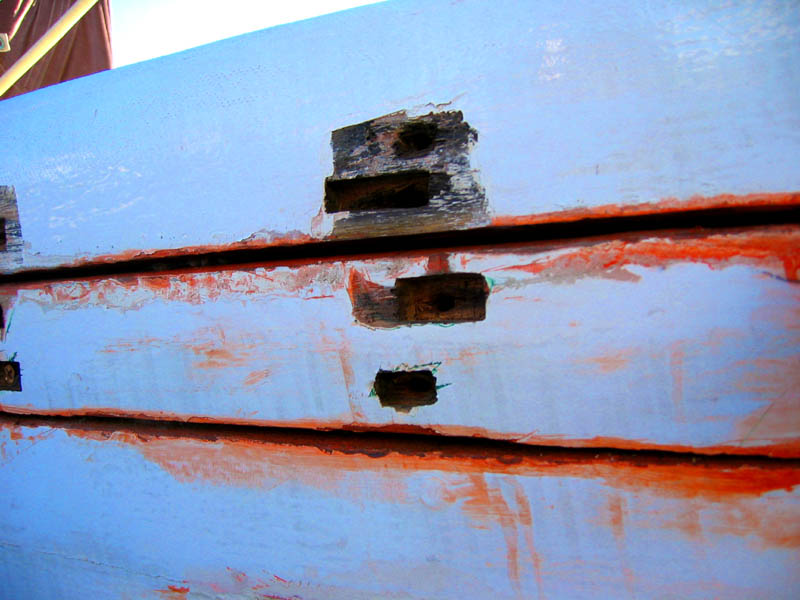
Installing graving pieces

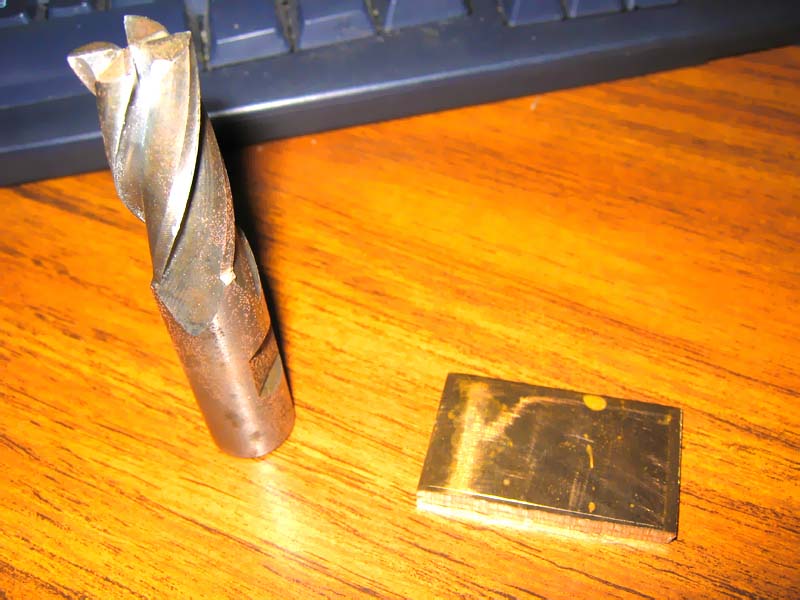
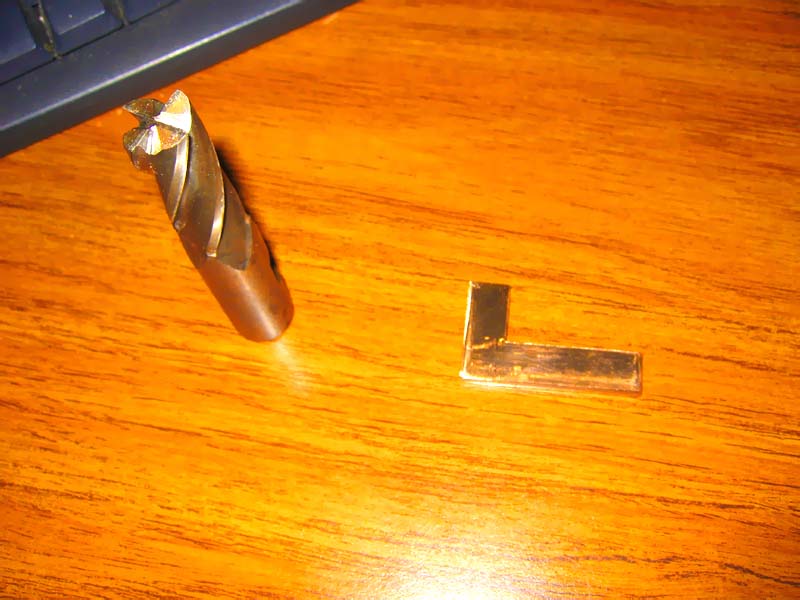
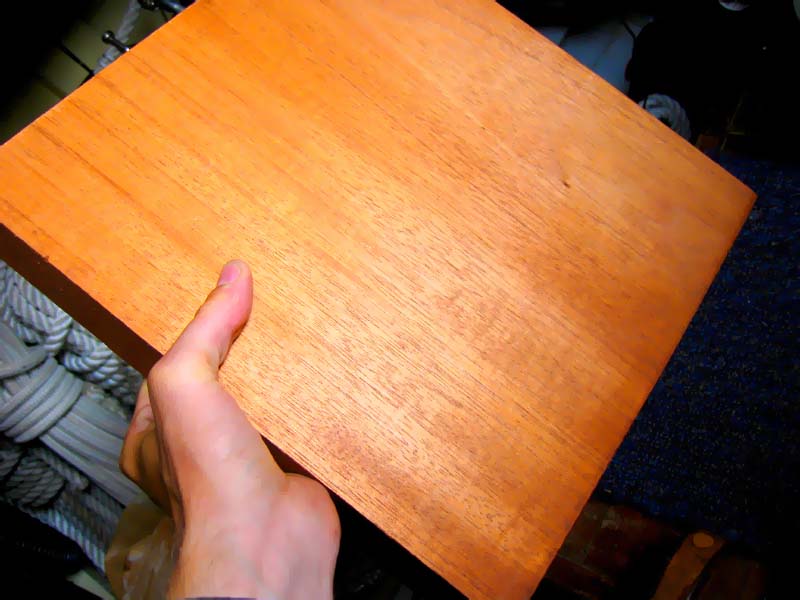
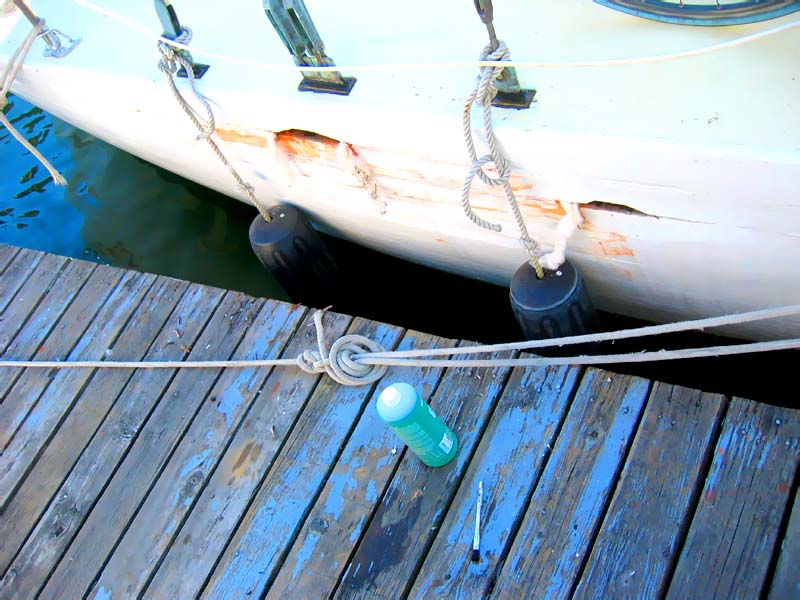
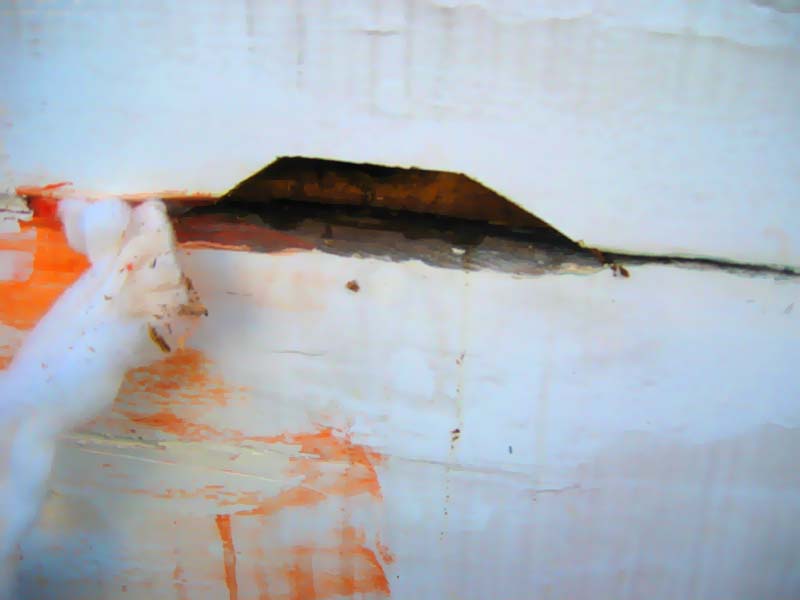
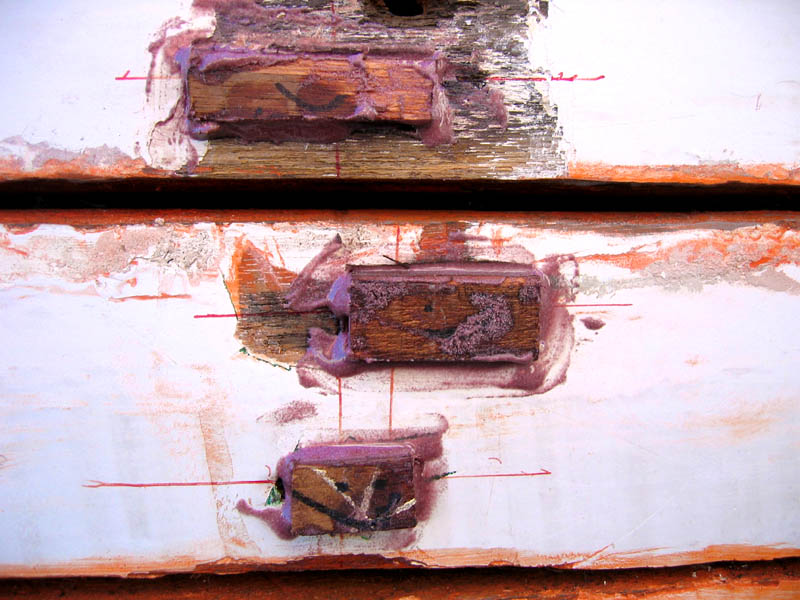
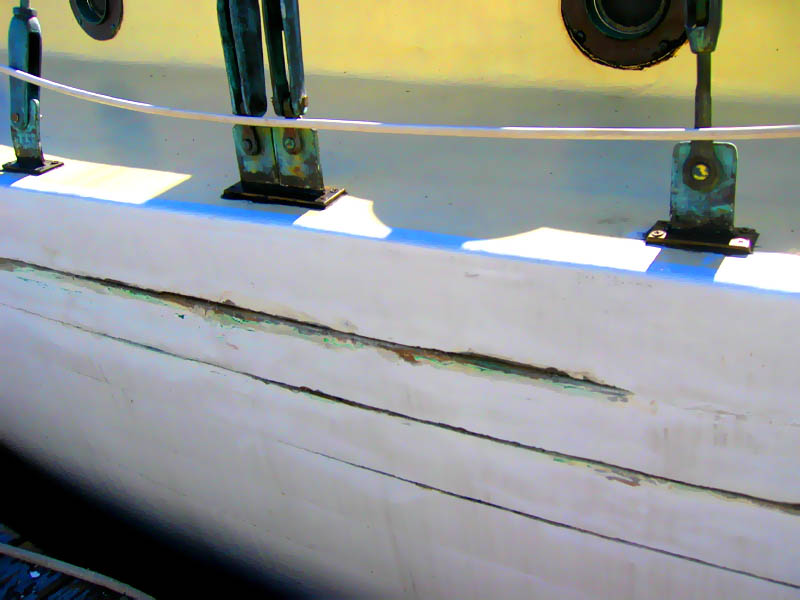
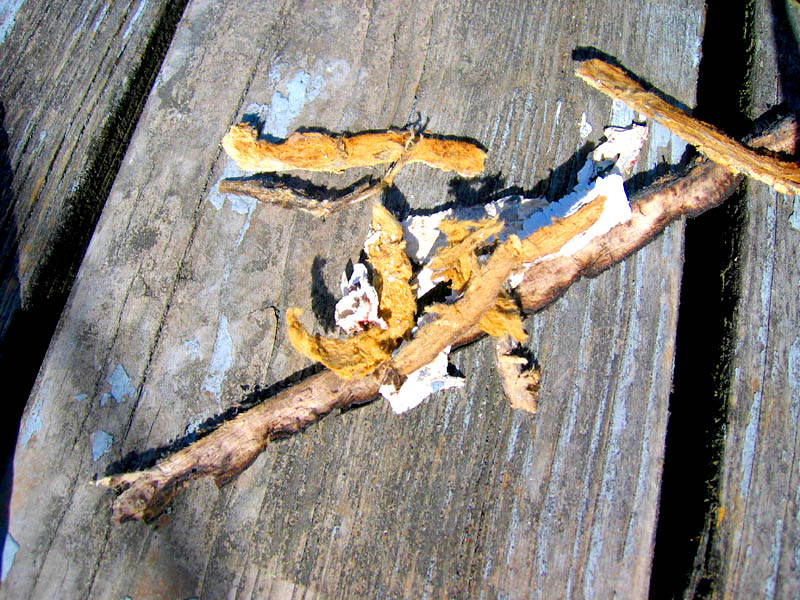
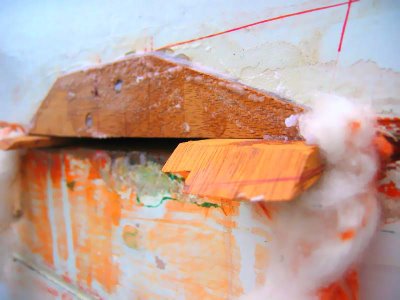
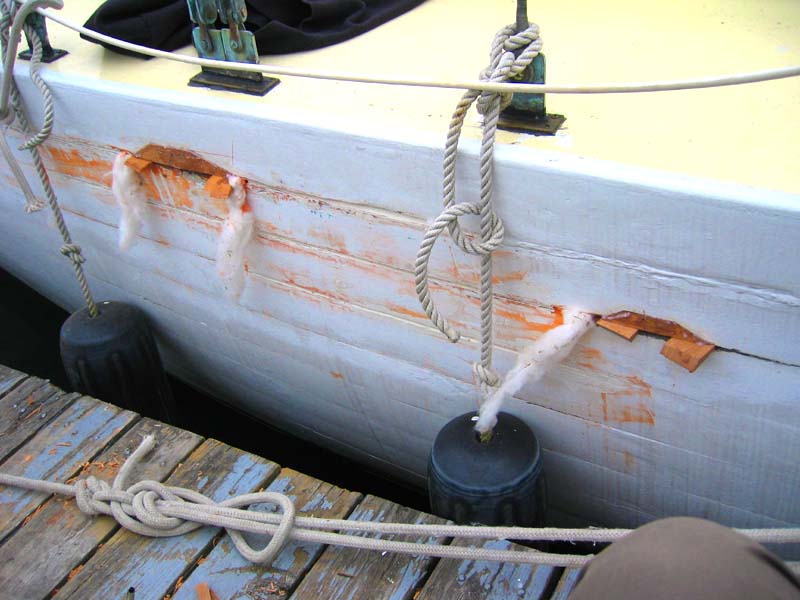
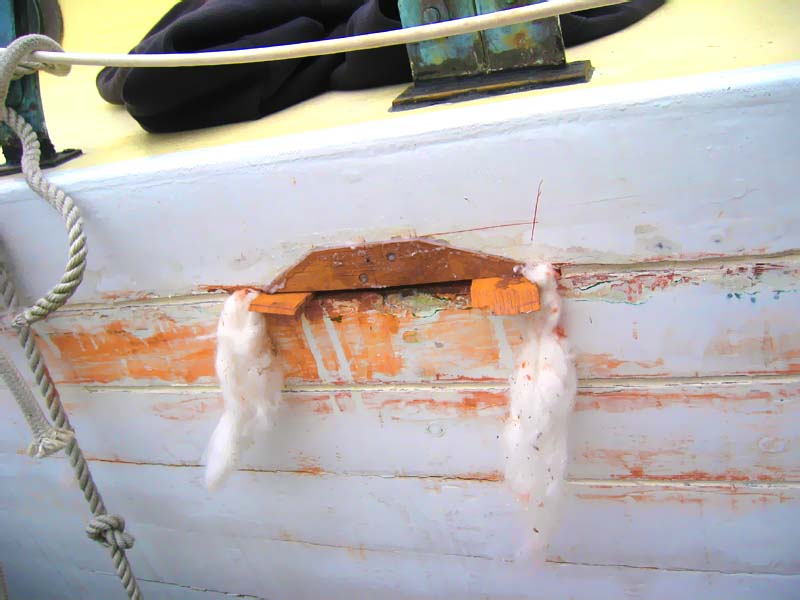
This weekends major accomplishment was initialing the graving blocks in the midships holes. Man it feels good to get those unsightly places patched up.

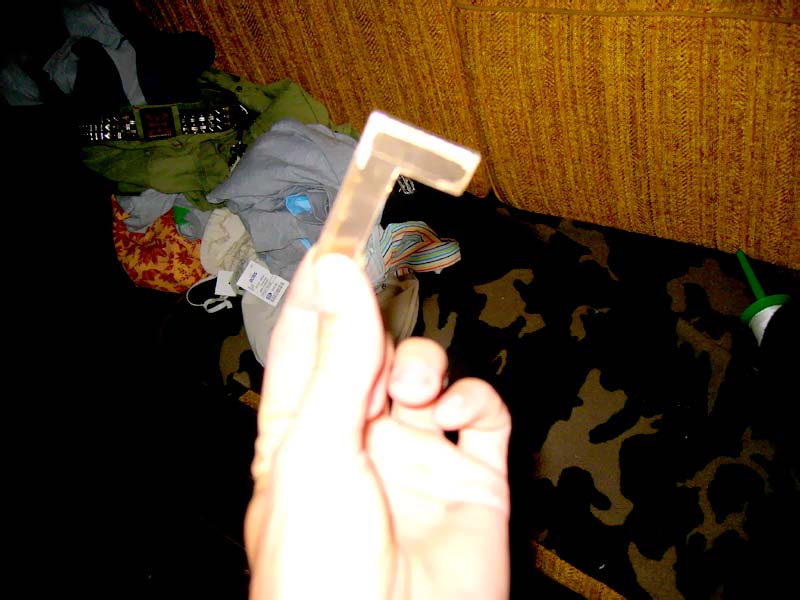
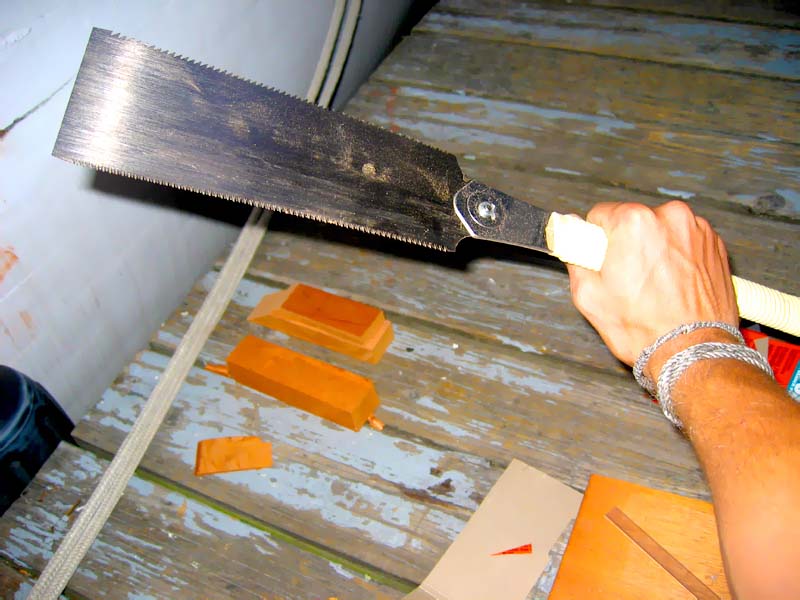
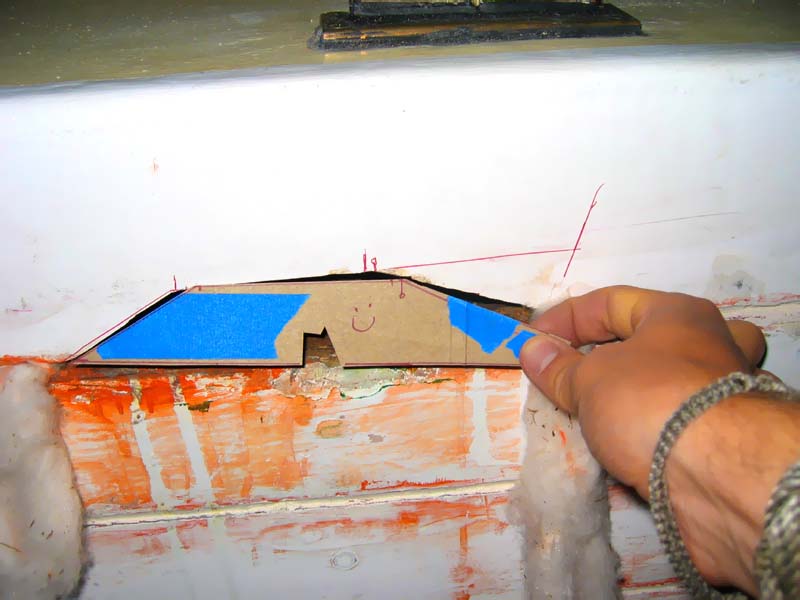
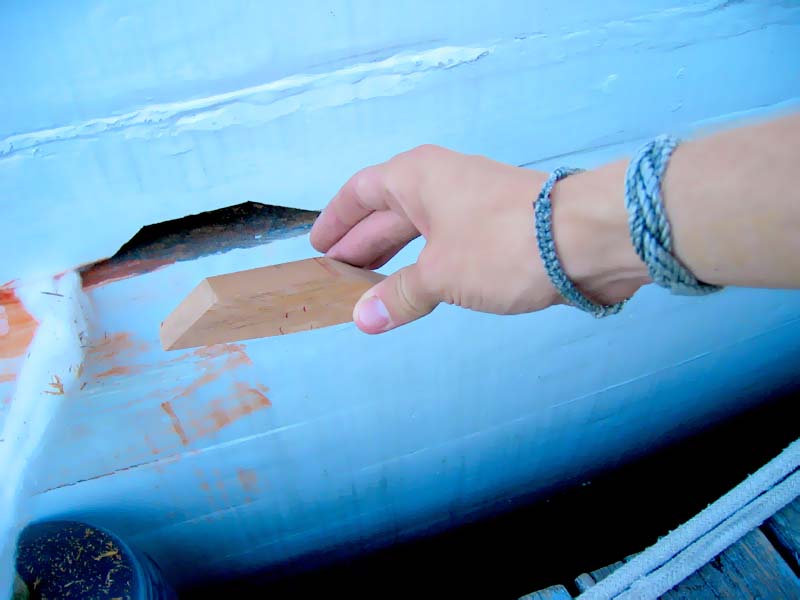
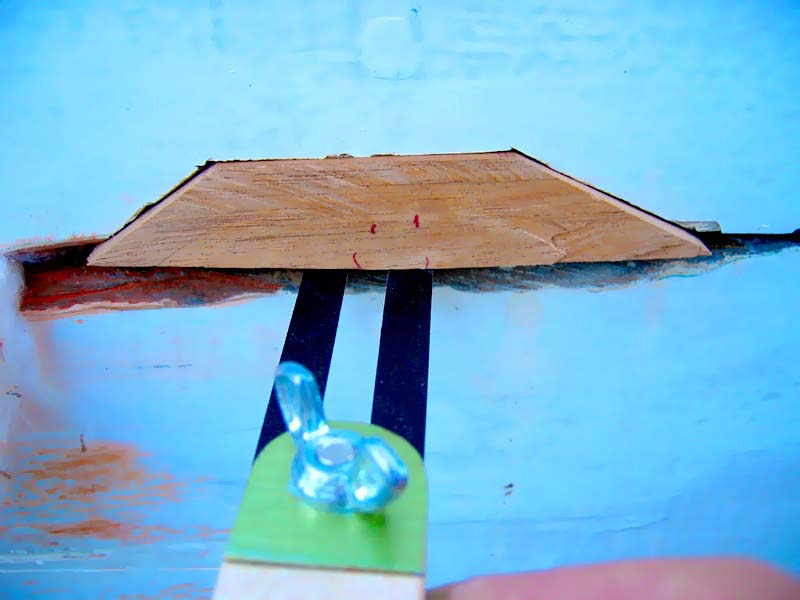
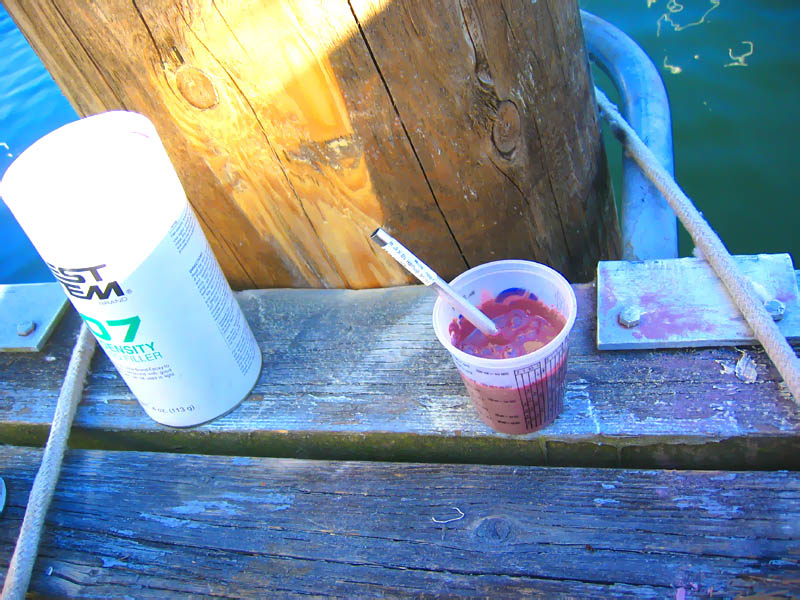
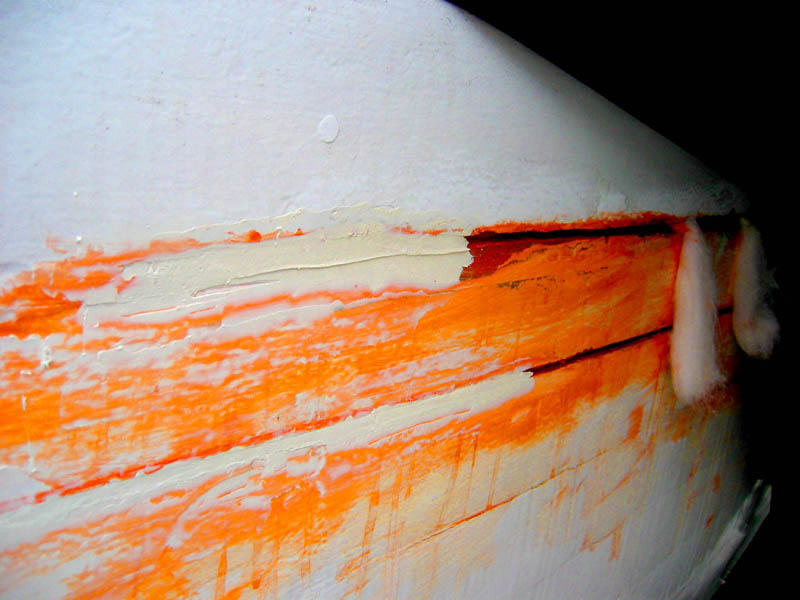
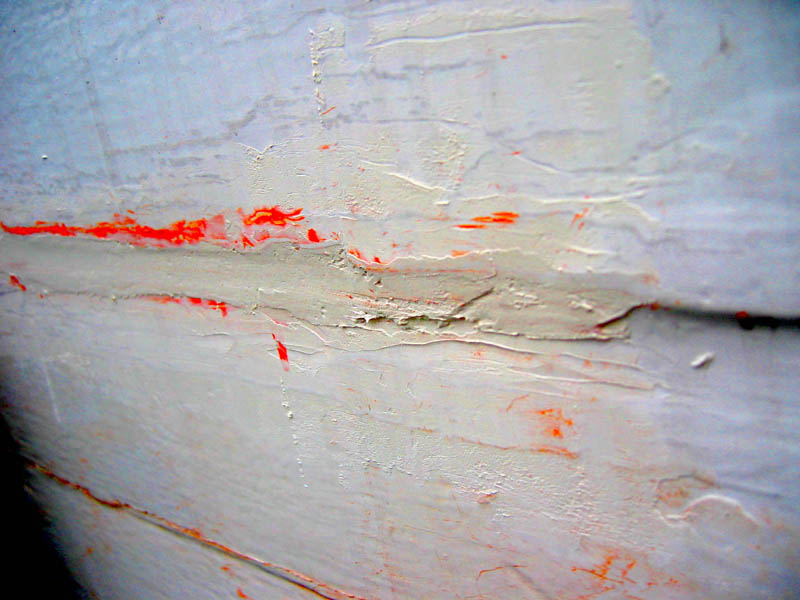
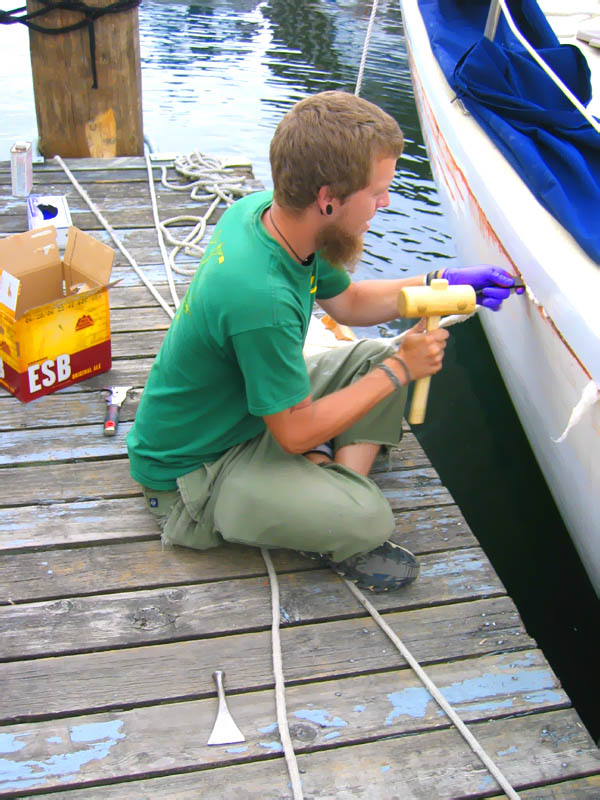
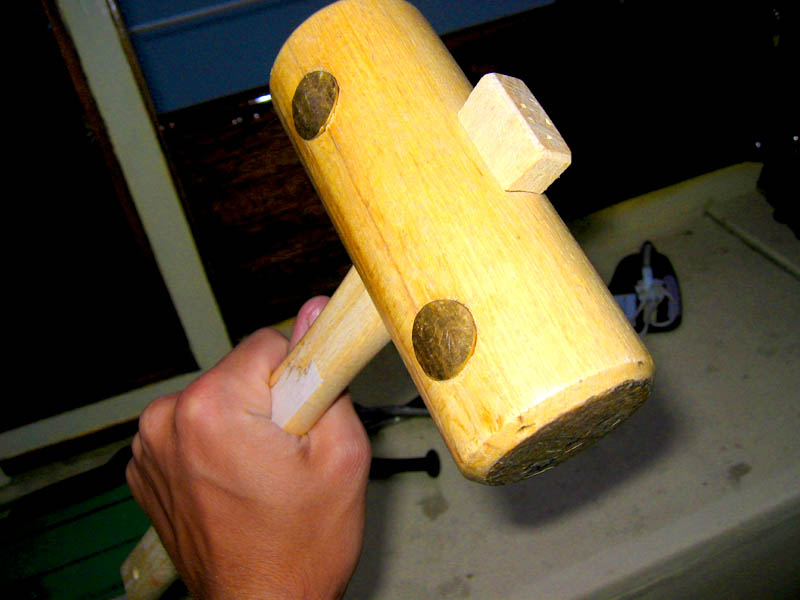
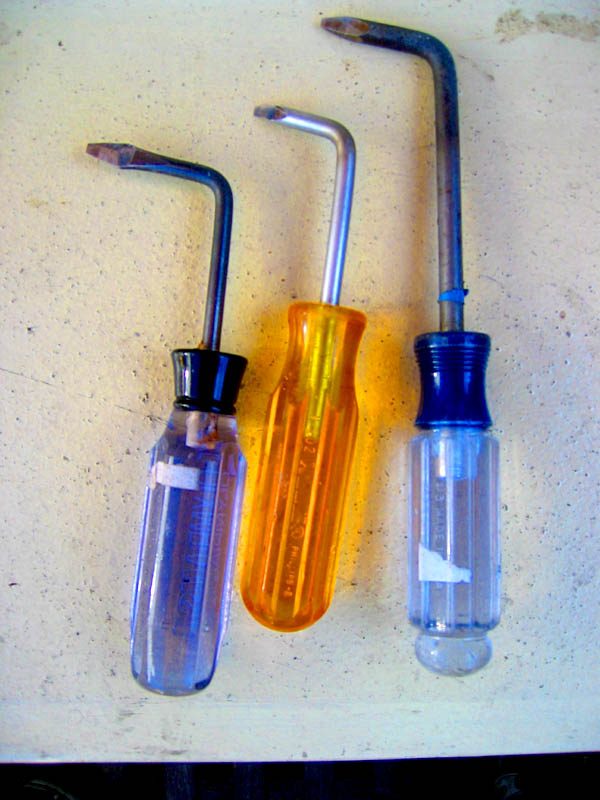
I tried two times to pilot holes through the block and the frame so that I could use screws to hold the bits in while the epoxy was curing, but I could never get it to sit right with the screw cranked on. I wanted/needed it to get sucked up against the plank. So I went with my original idea of wedging them in at the seam, while pushing with my hand to keep it against the frame. Seems to work well. But in hindsight, I would have placed a sheet of waxed paper between the wedges and the block... but oh well...


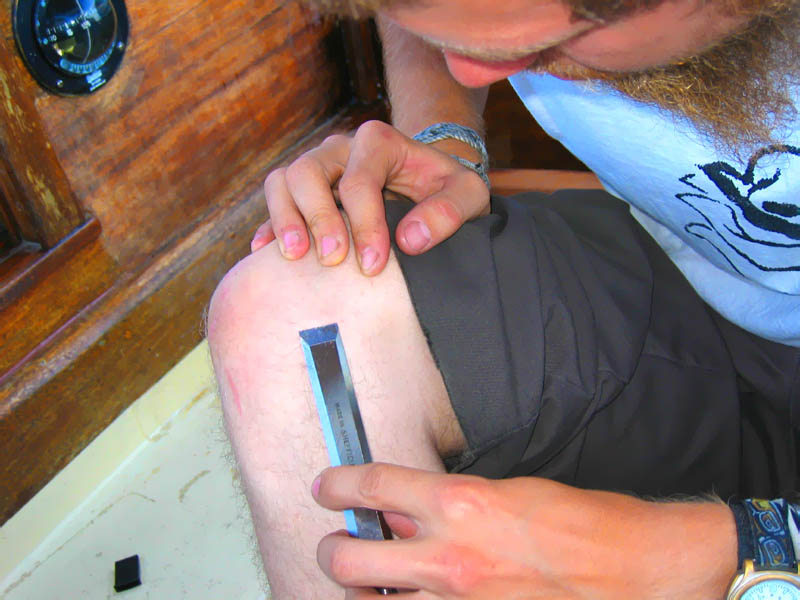
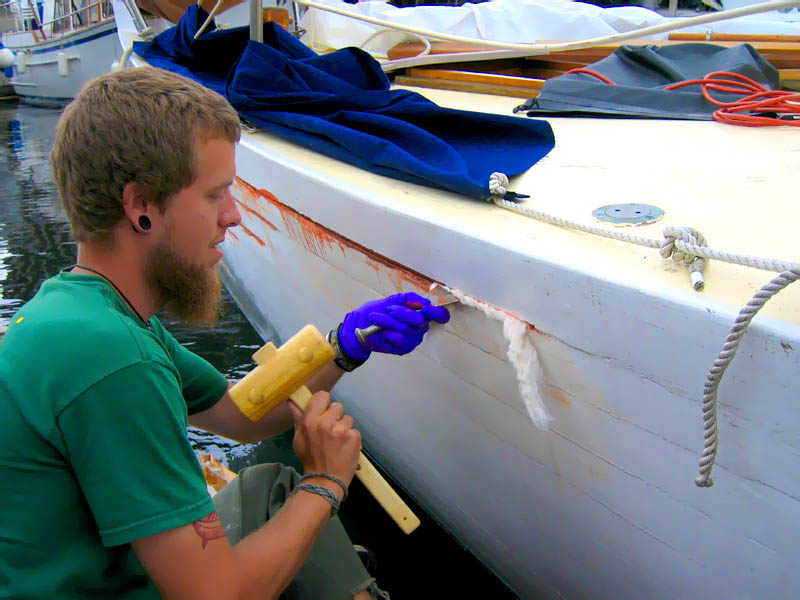
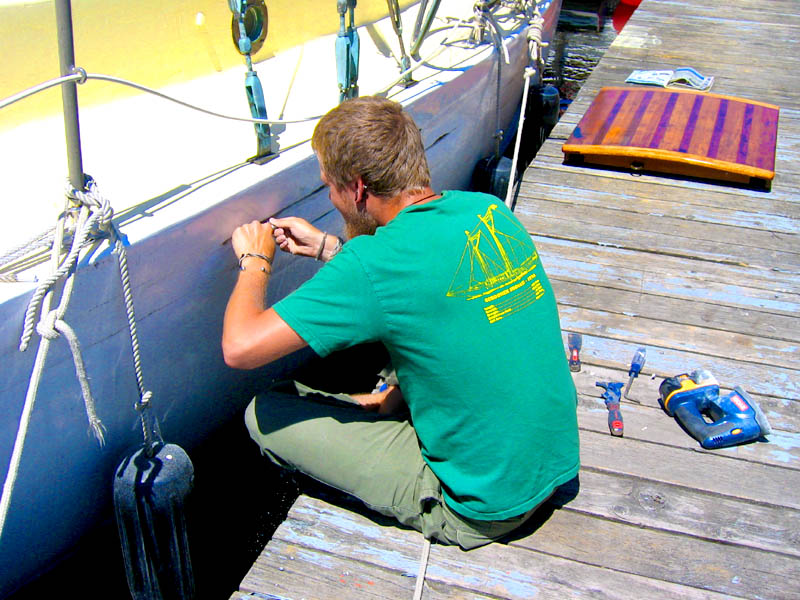
The whole thing was rather stressful, I don't particularly like using epoxy. I'm afraid that I didn't do it right and I'm going to spend weeks trying to chisel out my mistake.

Me being stressed:


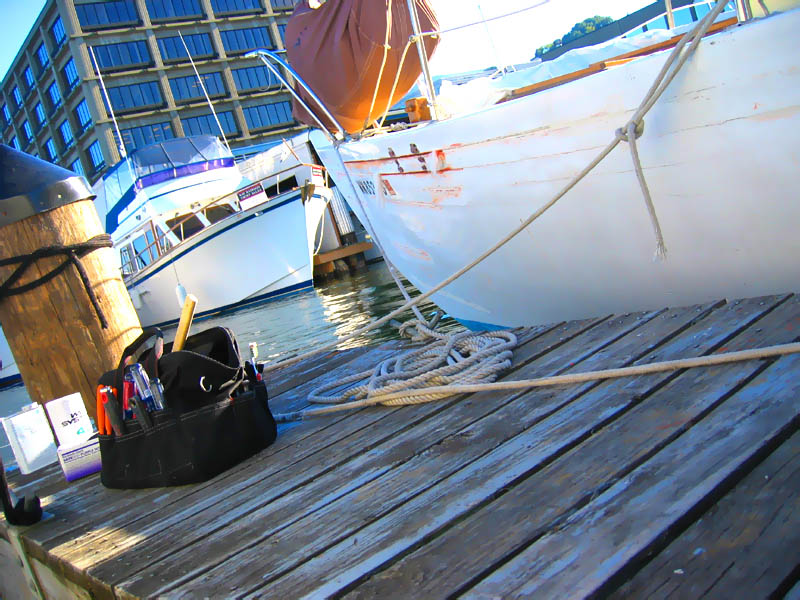
In other news, the rain came again... finally. But the boat held up well and there was very little water in the bildge, even though there are a number of things I know should be fixed. So, that's a good omen for the boat when the real rain comes.

Friday, July 28, 2006

RIP

I lost my first tool to the watery grave. While working on the hull, my hand slipped and I dropped my 1/4" Irwin chisel between the dock and boat. Damn, I've been doing so well too...

So far I have been unsuccessful at fishing it out with a magnet.


So, RIP fair chisel. Unless I strike gold with the magnet.

More tool making

Yesterday at school I made a sweet little carpenter's square out of an old bit of bronze plate leftover from making my chainplate covers. Its pretty bitchin'.

Before:

After:

Thursday, July 27, 2006

New saw and templating

Yesterday I got a new ryoba style Japanese style saw. I already had a dozuki-style saw, but with its backbone reinforcement, it was impossible to make through cuts of any thickness.

So last night I practiced making nice, even, straight cuts with the ryoba with very encouraging results. I got myself into a nice 'zen cutting' mode, focused on the cut, and made very close to the correct 3D shape planned.

Also, to attempt to mitigate the mistakes made the time before, I made a template for the other, larger graving piece. Again, good for the task at hand and good practice for template making.


And, please, don't grab the saw blade and yank it. And make sure you wear a glove too.
Bad mojo.

Wednesday, July 26, 2006

Wood work

Last night pushed the bounds of my wood working skills, making the dutchmen pieces for the boat.
My overall method was to try to cut as close as possible and then plane and chisel the block to shape. The first one went alright, but I think I need to get a small square and be more precise next time with my cuts.


Here's how it all turned out though, I have yet to shape the caulking bevel into the piece.


...using my sliding bevel to hold the piece up tight in the pocket. Again, using the smiley face to label outboard and upper faces.


I did a little work on the other pocket as well, but after I made a pretty gross measurement error, I decided that I was getting to scattered and it was time to stop work before it became frustrating. I've done a good job thus far making working on my boat fun, and I am not about to make it a burden by pushing myself over the edge mentally.

Tuesday, July 25, 2006

Wooood!

Yesterday after work was mostly eaten up by getting a small storage space and helping my girl move outta her house, then grabbing some beers and grub. But I did manage to stop by the small hardwoods shop (not the best prices, but convenient for small pieces) and got some Honduran mahogany to make the dutchmen out of. It's an impressive bit of wood.

So now I have all I need to complete the project.


Monday, July 24, 2006

Trunnel dyes

In preparation for refastening my boat with trunnels (literally - tree nails), I made some experimental dye sets out of some scrap aluminum I found at work. I bored a 3/8" hole and a hole 1/64" bigger in each plate. You cant see it, but one of the plates is ~3/4" thick and the other is ~3/8". We shall see how well they work as trunnel dyes. I've read that you want your trunnel ~1/1000" bigger to get the right snugness for a good fastening... if need be, I can get access to a fine set of machinist end-mills and make a very precise plate.

But we'll see how these initial ones work for now. Now I just need to find a supplier for the black locust wood...


Holes in the boat

This weekend I found myself tearing into my hull with a chisel. Turns out that the soft wood found when reefing the seams is from iron sickness. I'm sure it’s from the leaking between the chainplates and deck getting to the old fasteners. In the light of fixing the problem *and* the source of the problem, I believe i have my bases covered with my previous installation of spiffy bronze chainplate covers. yesss...

So I attacked it with sharp things and carved out the nasty wood.

So now I have the rough holes dug out to put in the dutchmen. Next is to fashion the replacement wood and fine tune the fitting.


Friday, July 21, 2006

Preparation for the future

Upon going to Fisheries Supply, not only is one inclined to get the tools for the current project, but also for other, future things...

So I also got some Ospho while I was there, for treating rusted things (fasteners, keel, skull...).


And I sharpened my chisels in preparation for fairing out the newly installed graving blocks. They say that a good chisel should be sharp enough to shave with, so I tried it out. And yep, it worked, though I have a little 'razor/chisel burn' on my knee now.


Graving pieces

Last night I installed the graving pieces in the bow planking to fix the iron-sick, punky wood. Here's the initial shot, with the holes chiseled out.

And the mahogany graving bits... I used the smiley faces to indicate the outboard face and proper orientation.

Mixing the epoxy. It ended up being waaay to much for what I needed, plus the pot started smoldering from the excess heat at the core. I even used slow catalyst, but that stuff got HOT!

The happy little bit installed.

And a shot of the work site.

Wednesday, July 19, 2006

Refastening progress...

So, the work has slowed a bit recently. This is mostly due to me trying to create a solid plan of action for the refastening. I been picking the brains of wooden boat gurus at CWB for advice, we'll see what conclusions I get. I also am going to be refastening the through bolts at the sheer clamp as well in that area, as they are in poor shape too.

But so far all the seams are payed, except for those that are around the work areas. I also chiseled out the punky wood in the area around the dead fastener holes and made the graving blocks to go in. The immediate next step is to get some epoxy filler and place the graving blocks in. Then fair them out and refasten.


For the refastening I am considering either piloting new fastener holes and placing in bronze screws (or maybe copper roving) or refastening in the original places but with ~3/8" trennels. I like the trennel idea, but it's a little trickier.


I only got one picture of the work done before my camera battery died. Here are the chisled out holes:


Thursday, July 13, 2006

Paying the seams

Because of the impending rain, I both rushed to cover as much of the open seams as possible with canvas tarps (which I have made quite a few of in different shapes for covering various boat sections) and also pay over the few still exposed ones as well. This also gives me the opportunity to test out the behavior of the Interlux seam compound.

Here are some shots of the payed seams. They don't look very fair, but give me a chance (plus I am starting with less than beautiful seams). I'm planning on attempting to sand the area around the seams later today to see how it holds up. I might go and fill the rest of them with the compound only part way, to insure a full cure of the stopping.

Also note the liberal use of red lead. I Definitely need to get a particle mask when sanding.


Tuesday, July 11, 2006

Boo-ya!

So, after dreading trying to remove the wasted fasteners at the bow.... they came it without too much trouble. But they were totally f-ed. I had to clean out around the fastener a bit with a small screwdriver (read: improvised chisel) and then set the ViceGrips firmly around the head. Then with slow twisting and prying, they came out. I got three of the four I know need to go on this section, I left the other for after I get a decent chisel set with a ~1/4 one.

Then I am planning on chiseling out the countersunk holes (that were already gouged out from what looks like a previous attempt to remove the fasteners) to a nice square and set in small graving blocks with woodflour/epoxy. After that is set, I'll re-drill the planks for the new fasteners, which will probably go in the opposite diagonals as the originals, I believe that there is still a decent hunk of the old one still in the frame.

But getting the buggers out without too much grief was a welcome relief.

Caulking!

So, I finally get to the real caulking. Pretty fun... then your wrists start to kill from the funky angles. I would definitely get this done on the hard in a comfortable position for any major recaulking project. But I powered through it for this little job.

I primed the empty seam first with my own red lead primer, then set in the cotton. I am wearing a glove in the pictures just so I keep my hand with the iron from rubbing on the still tacky poison primer. After I caulked the seams, I primed over the cotton with two good coats of the red lead primier again.

Also, Cass deserves the photo credits for these.


My first seam!


Then it's just wash, rinse, repeat for however many feet you have to go. But I left the seams uncaulked and tails hanging where the refastening is needed and also at the soft spots.

Hardwicks again!

Oh yeah. More tool porn from Hardwicks.

I needed a wood mallet for the recaulking. And I also searched out some products for removing the old, wasted fasteners at the bow. I was thinking of getting a real caulking beetle, but at ~$60 and the fact that I am not doing a whole lot of caulking yet (or ever), a simple mallet should work. But I did get one with large brass rivets at the ends of the head to add weight. I supposed that this would simulate the weight added to the end of a real beetle from the rings.


And I also got this nifty Japanese nail set/cats paw combo tool for the fastener removal.


Plus a used mini jigsaw and needlenosed ViceGrips. Tools!

Reefing seams

After the tool making, I went ahead and went to town on the seams that will be recaulked.

The reefing went alright. There looked like there was two different 'eras' of seam compound in there... and I ended up finding very little cotton or oakum in the seams that were opened up. No real surprise there. All things considered, besides finding the soft wood and wasted fasteners as mentioned before, it was pretty smooth. The 'custom' tool came in very handy. If I were to do it again and try to do it even better, I would be more careful to reef out a even seam, keeping the caulking bevel opening as even as possible, but that's mostly an aesthetic thing.

Here I am, sitting on the dock and reefin':

Some finished seams amidships. Up above the wider upper seam is where one of the soft pockets is. No doubt that the leaking from the chainplates coming through the deck provided the source of water to feed the spores.


Seams at the bow... some of these I just carefully hooked out the old seam compound and left the original backing in place. I planning on just re-paying them without adding more cotton.


Amidships again...


Me working.


tools of the trade. I used the heat gun, scraper, and sander to clean the faces of the seams before reefing.


I guess this is what ~70 year old cotton/oakum looks like?

Tool Making

Made the reefing hooks on Sunday. The torch was not as hot as I thought it would be... it was really hard to get the shafts to bend, and they never got even a dull red hot. Oh well, it got done though.

The results:


Monday, July 10, 2006

Weekend update

I do not have my camera with me, so I will be posting pics of this stuff tomorrow. But this weekend had some interesting projects.

I made the reefing hooks from the screwdrivers and then preceded to reef out the poopy topside seams. In doing so, I found two pockets of soft wood, one in the shear strake and one in the first plank down. Both pockets are about 3" in length, but only ~3/4" up into the plank, in the center. The wood on the far inboard and outboard sections seems sound. Unless I see the dire need to do the caulking lightly in these two sections and deal with the full fix later (which I don't see happening), I plan on fitting two trapezoidal graving blocks, essentially giving the planking new wood at the bottom where the detioration is and creating a new caulking bevel. I have a good hunk of African mahogany that should fit the bill for the graving pieces.


I also found something that I really expected. This was noted on the survey, but about 3' aft of the stem, the fasteners on the 2nd plank down have lost their grip on two of the frames. So there is a bit of looseness there and I need to refasten it. No big deal, but the original fasteners are galvanized boat nails and pretty deteriorated (thus the loss of grip). So getting them out will be a pain. I am not quite sure what I am going to do about getting them out. I plan on trying ViceGrips, and maybe a session with an Unscrew-em. We shall see.

Maybe someone more experienced can chime in and give some advice. If you have some knowledge to share, please do so! Leave comments!

It is predicted to rain tomorrow too, which makes this all even better. Now I have nature to deal with again. I guess its just a reminder that despite the summer climate, I still live in Seattle.


Pics soon.

Friday, July 07, 2006

Line locker and tool storage

In an attempt to further optimize the stowage situation on the boat, I took out the grating over the forward section of the pilot birth and made it a line locker and tool store.

The pilot birth has always presented a storage dilemma. It's a very useful place to store things beneath, but then they become fairly inaccessible, because one is also tempted to pile lots of stuff on top of it too. I have been thinking of creating some hanging line storage, so removing the birth cover and stringing a line across the hull seemed to fit the bill... and now I have a place to put all my tools in a single spot. I like the idea of having a utility locker, per-se.

Plus it puts more heavy stuff to stbd, helping even out the perpetual port list.