Tuesday, October 31, 2006

Mas Hardwick

Just got back from Hardwicks. I intended to buy just an electrical box and outlet for the boat, but I found more to buy, but isn't always the case? More on that later...

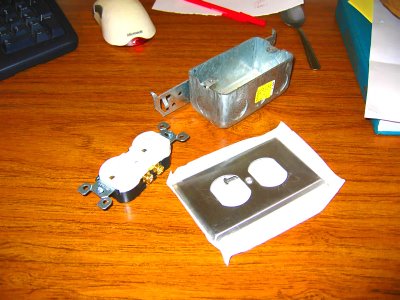
I want to install another outlet in the boat, I have only two already, all the way forward in front of our heads when we are sleeping to plug in a space heater, dehumidifier, lamp, etc... My other forward-most outlet is at our feet and is totally used up with things for the saloon (fan, computer, heater, dehumidifier fwd...), so this new one will be very nice. Plus, it's an inside project, which I need to start focusing on for the winter months or I'll get nothing done.

So... OUTLETS!


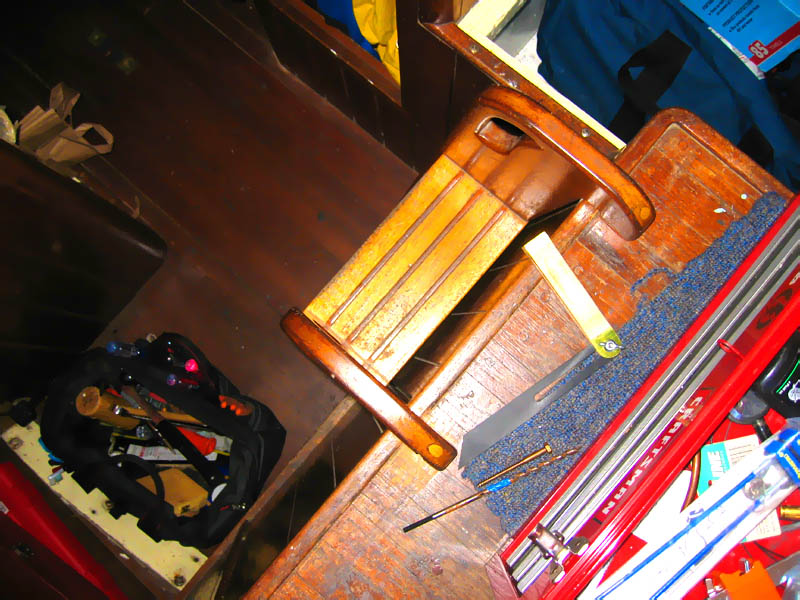
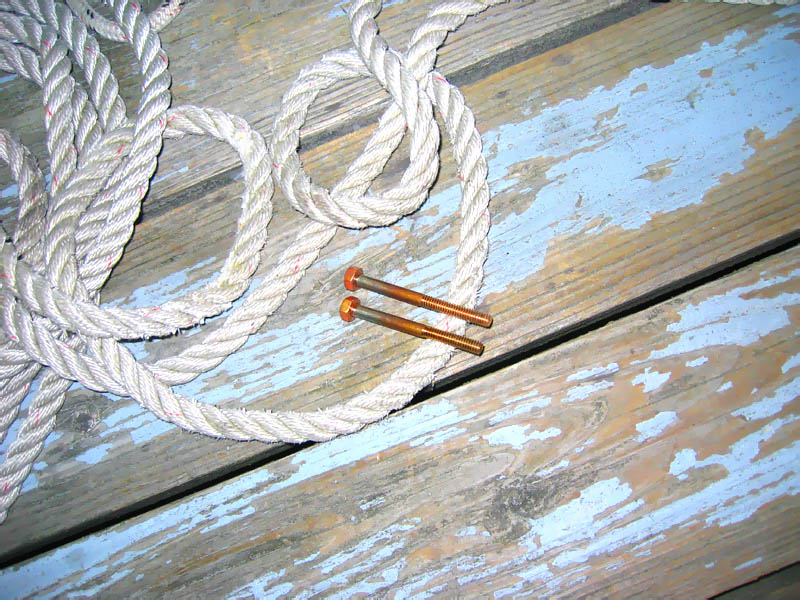
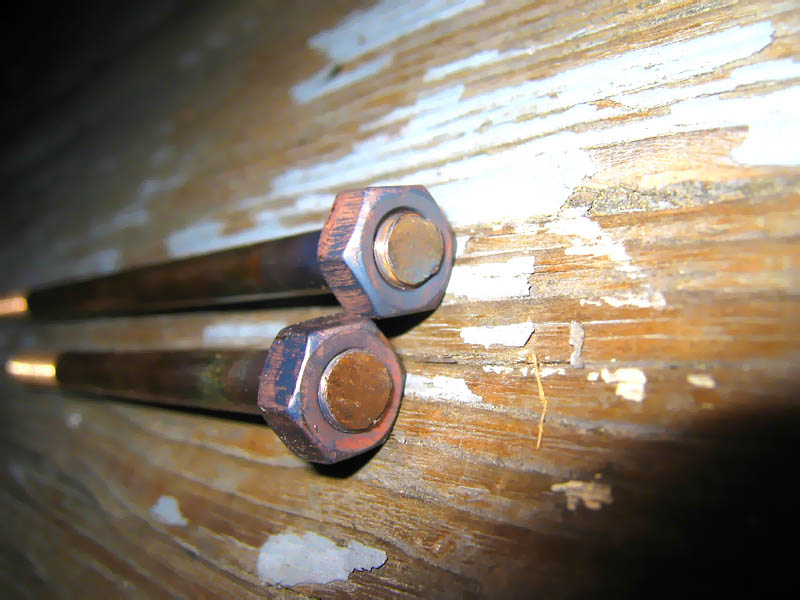
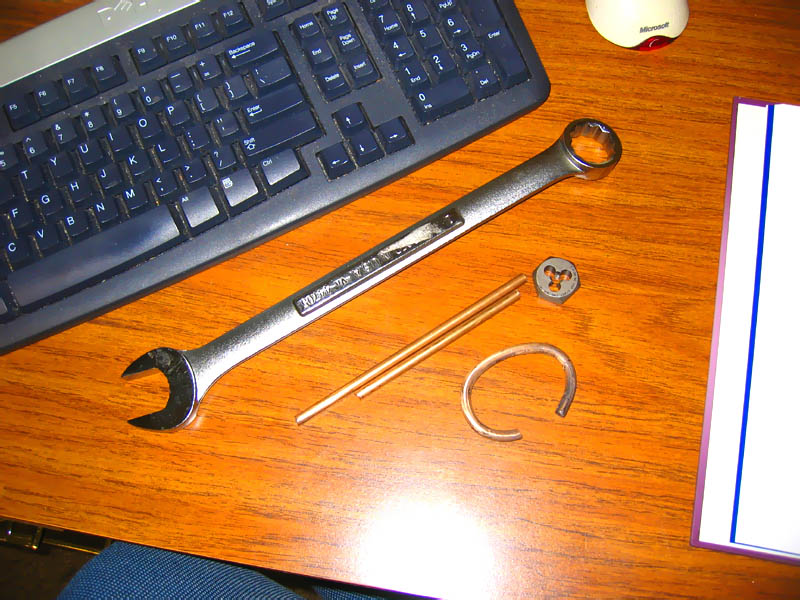
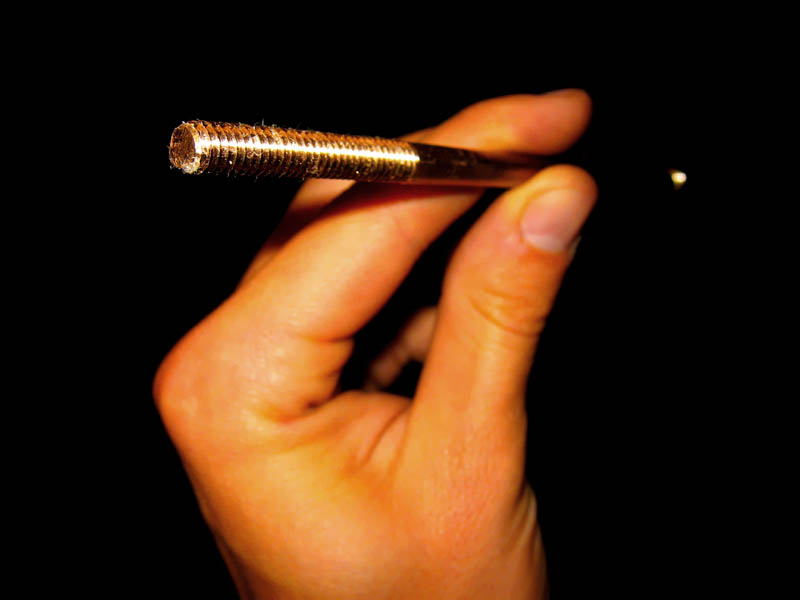
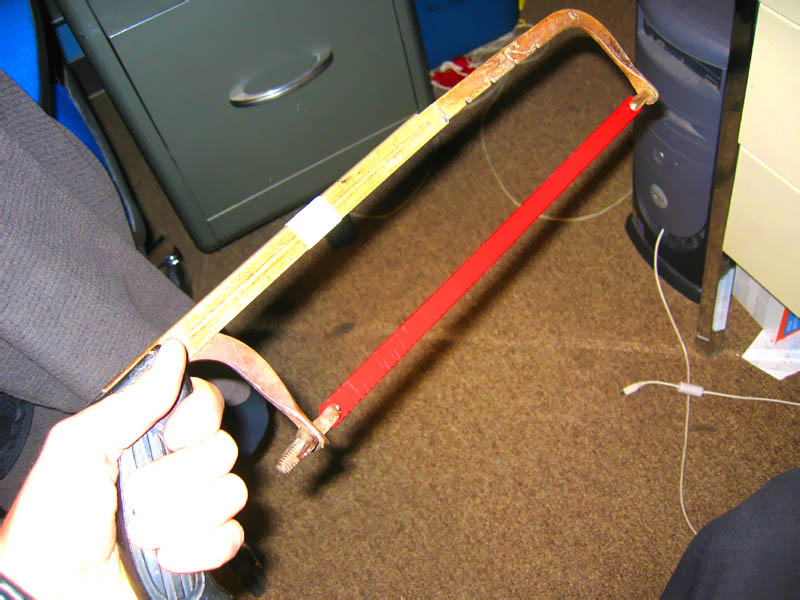
And, back to the bonus. I have been cutting the bronze rod for the bolts with a crappy little mini-hacksaw. So while looking through the used tools, I came upon a used hacksaw for $3.00 with a new blade! That alone is worth a couple bucks. So, I bought it, and I feel oh so frugal and nerdy.

Monday, October 30, 2006

Fillets on the coaming

So, something that has been on the to-do list for some time has been cleaning up where the trailing 'wings' on the aft end of the coaming meet the deck. There has always been a bit of a gap there between the two, and it attracts a lot of dirt and crap.

So I thought a nice, quick project would be to put in a fillet in the space with some 5200.
I masked it off. You can see the ugliness in the junction.

There are also stains on the deck leftover from the varnishing frenzy I had this summer. I never really cleaned them up because I am going to repaint the deck soon anyway. These fillets are a step closer to that goal.

Then I goobed 5200 all over the place and used my finger (with a paper towel) to carve in the radius. Then, off with the tape, leaving a nice transition. Again, nevermind the nastiness on the deck, it will all be gone soon and look like the beautiful redone cockpit (see past posts).

So vain...

I monogramed (well, sorta) my new chisel roll this weekend too.

Now its totally mine, doper than yours!

Bow refastening

I worked more on the bow refastening project. I found out, much to my disappointment, that getting the bolts in that are above the beam shelf are going to be very hard. There is no way to get a socket or wrench back there to reach a nut, and plus, I don't trust the frame too much to take the crushing stress from the bolt, even with a washer.

So on Saturday I looked at the possibility of fastening through to the edge of the beam shelf, using a fastening in backing block for the nut to press against. The negative side of this plan is that the longer bolts will be more costly, but thanks to the fact that I now have the ability to make my own bolts at low cost, it is of little concern. I also do not think that this will affect resistance to shearing of the plank against the frame, but it is still a concern as well...

The first step was to push the rod section through the fastener hole to 1) see where the extra long fastener would exit the edge of the beam shelf plane, and 2) see how long I need to cut the bolt. Nevertheless, it is strange to see the whole rod section skewering my boat.


Next I found a suitable bit of wood from the stash I keep on the boat. The boat came with a mahogany dodger that I thought looked hideous (ie- it looked like a motor-sailor), and a piece from that dodger worked very well as a good donor bit of mahogany, at the right price. I then took bevels off the beam shelf/deck beam intersection and cut the piece.

Here it is:


Then I whipped up some epoxy with bonding filler and wedged it in place and left it to cure.


The whole thing actually workes out really well, considering the hole you see right below the block is pretty 'rotten' out from local iron sickness. The old fastener has been removed, so the sickness is not going to continue, but I would not feel good about putting another fastener in there. So having the good bronze bolt above the shelf against the new block, and one below (you can see in the picture, it comes from the outer hole that would have been lead through the old hole in the beam shelf) I believe will give the area renewed strength, like a sistered frame.

Next step, re-drill the hole, fasten it up, fill the leftover hole, and then paint to make it look all pretty again!

Friday, October 27, 2006

Trim painting

Finally, here are the pictures of the trim paint on the coaming... finishing off that task as well.


I am really pleased with the tape line that I got here, very little "under bleeding". Still learning...

Finishing the side

I finished the project on the port side last night... well, it may not be the best finish in the world (there is still lots of stuff that can be done with fairing out the side and the seam filler) but it will do the job as far as protection from the elements and sealing the hull.

Here is the side as it existed with just the seam compound on, with all the haggard paint from priming the seams (white paint and homebrew red lead).


And now the painted side. The paint I used was the leftovers I found on the boat when I bought it, and is not very high quality. But it'll do the job for now, and I want to get good paint for the whole hull and do it all at once. So I'll deal with a less-than-stellar finish for now... with a little bit of the two tone look.

Note, the craggy seam on the sheer plank on the right is the old seam compound. From reefing it out, most of the lumpy stuff seems to be a 5200-like polysilfide, while most of the other stuff is a hard and grey Portland cement/roof patch like mix...

Tuesday, October 24, 2006

Rain rain....

Lots of wind, then lots of rain last night. But, were staying high and dry.


Cass doing her morning routine, and showing of the cabin beams:


Nastyness outside:


I did some projects yesterday before the light of day left us, but I didn't have time to take any pictures (and ones at night would have looked bad). So, settle for this small update and stay tuned.

Monday, October 23, 2006

Moonlighting as a surveyor

So, Cass's mom called her a week or so ago and said, "I found you a boat, its cute and you should buy it!" Thus began this saga. In Bellingham a guy was selling his Samurai 28, a Japanese built version of the Herreshoff H-28. They are double planked, with the outer skin Philippine mahogany. He only wanted $5,000 for it, so we went to the 'Ham to check it out where it was hauled out to see if she wanted to even go as far as hiring a real surveyor.

Here is the 'report' (in pictures, mostly).
NOTE: Through this whole discussion, I may sound like I think I am some kind of surveying genius. I am not. I used all the knowledge I had to learn about the condition of the boat, but I don't want anyone to think that I can give a professional opinion on such matters. I was helping out my girlfriend with a possible boat purchase.

The boat is very pretty, with a good stance for the size. Sloop rig, single spreader low aspect. Initially the hulls looks very fair with no obvious signs of degrading. The hull paint looked really nice topsides.


Here is the name plate.


The first thing that I noticed when looking from below was that the end grain of the plywood decks were not protected at all. The deck was sandwiched between the toe rail and the sheer plank, leaving the very vulnerable end grain exposed to the elements. All in all, the decks were totally rotten topsides, especially at the toe rails and the junction at the cabin sides. Also, the coaming for the forward hatch was totally wasted away to basically a shell of varnish holding in rotten wood chunks.

Everything at the transom looked okay... none of the varnish was badly blackened indicating water penetration at the hood ends. The hoods themselves were not mitered into the transom planking, but looked and sounded alright.


I started tapping out the hull like maybe a real pro would, feeling for changed in vibration indicating loose planks and listening for dead spots. There was nothing obvious to me, but there were some cracks around plank butts as well as dead sounding spots at the waterline.

Here is me looking like I know what I am going.


The bottom paint appeared to be a hard coating, and was cracking off in a lot of places... there were also areas around the apeature and rudder with obvious delamination of the planking.


This was the single worst spot of damage/deterioration of the hull... a decent sized piece of wood lifting off. The shot is looking aft, so water would really be pushed into the void. I don't know whether this is from an acute source or a slow deterioration.


It did have a very new (>200 hrs) Yannmar diesel, but we didn't try to start it (it was out of the water...)


And also a decent shot of the aft deck... it had a really nice little laz, and if one were so inclined to take the engine out of the hull, this would create lots of excellent usable space.... maybe even a semi-aft cabin area to sit up in?


So, that was a lot of information to process (again, I am only giving my best guesses, I an no pro). It seemed clear that it would not be wise to buy the boat at the full $5,000 price tag, but when Cass called the owner to talk about what we had found out, she learned that he had recently accepted an offer for the full 5k. So it kind of made the decision for her. No boat =[ Sad, but the right decision.

Wow, that was long...


Weekend work, on Danne

This weekend was full of work on boats... I did a lot of good work on mine, and I played surveyor for Cass on a boat she was looking at buying.

First off, the work on my boat.

I started off bunging the countersinks in the midships refastening project, getting into the home stretch. The first bung went in nice and snug (with varnish for the 'glue'), but for some reason none of the bungs wanted to fit snug in the second hole. Strange, because they were drilled with the same bits... Then I figured out that shoving the socket into the countersink for fastening the lag screw made it just a bit bigger and thus the bung fit was off.

Solution? Soak 'em in linseed oil to swell them up!

So, that was easy and I got it done in good time... then I caulked the seams and primed them with red lead at first, then some old enamel paint before the paying compound goes on.

Then I worked on a little side project that has been waiting for a while, I painted the trim pieces between the deck and the cockpit coaming. The pieces have been on for months but not painted. They have been oiled and varnished with the coaming, but not carefully, just to seal the faying surfaces. Here is the original layout. The pinkish smears is wood filler covering the fasteners (no room for countersunk bungs, plus I didn't care because I wanted to paint it over).

And then I taped it over...

And then I stopped taking pictures apparently. Oops.

Most of my time was spent working on the bow refastening, which had its ups and downs. I did manage to get lots of the bolts in and fastened, but the upper most ones, above the beam shelf where it is very hard to reach and see, are still not done and are proving to be very difficult. I think there will be some more wood and bolt fab to bring the ends of the bolts all the way inboard to the edge of the beam shelf so i can get access to the nuts. I also think that the frame ends are fairly well split and dead, so there is little pull against there.

I think I am going to make small blocks of wood and fasten them to the deck beam next to the frame and bolt through the plank, frame, and the new block. This should provide the ease of fastening and also something for the plank to hold onto other than a questionable frame end.

Wednesday, October 18, 2006

Fastening!

So, after a decently long break, I finally got back to the boat work much to my pleasure. I really don't like not getting anything done on the boat and being at the mercy of the weather. I tackled the refastening on the mid hull, since there are only 2 fasteners to go in and then I can button the place up.

After major inspection on the interior of the hull where the fasteners needed to be placed, I realized that behind one there is a chainplate, and the other is a large hanging knee. I was planning on using through bolts on these parts, but both those inboard objects block that idea.
So I went with a lad bolt in the one and a #14 screw in the other. That may seem like a Frankenstein mix, but in the efforts of removing as little wood as possible while still getting a good hold, the screw and bolt are, I believe, the best fasteners for their respective situations.

This entry is picture heavy, for I feel guilty for my lack of posting recently.
Here are the tools getting ready...

I drilled out the holes from the counterbore I already did.

Then buttered up the fastener with some trusty Dolfinite and stuck it in.

The screw went in just fine, I was concerned about it not biting in on the existing hole in the frame. But I knew that if it did not bite in, I could open up the hole a wee bit and put a lag screw in there as well.

But it gripped well. That made me very excited... here is me being really excited with my screw.

The lag screw went in fine as well, until I got to this depth:

As you can see, it is a little askew in the hole, and the socket didn't want to go into the countersink and finish the install. So I backed it out and gave it some motivational taps to set the socket in, then I finished the screwing with the socket pre-countersunk. It worked great.

This made me excited too, but I didn't take anther picutre. Sorry kids.

Then I finished off the evening by making some more bolts for the bow and pissing off the neighbors with all the pounding racket.

Friday, October 13, 2006

Making bolts III

Just made two more at work... they are the same size as the ones I bought, but I will be able to tighten them at the head which will come in handy in some tight spots.

Making bolts II

Last night I got out the heat gun and peened over the heads of my bolts against a nut. That's about it...

Here are the tools set out on the dock.
I used my trunnel making dye plate to hold the bolts by the nut whilst I heat and pound them.

And the finished bolts.

Monday, October 09, 2006

Making bolts

This weekend, all I really did was cut some of the bronze rod stock to size for the long bolts on the bow. I basically just rammed the long rob into the piloted hole and then a friend marked it outside the hull after I made sure it protruded about 1/4" inside. Here it is sticking in... everything is really dirty from all the drilling and such. Plus the bolt right next to the rod is going to be removed. You can also see a new bolt installed behind the wire (for the running lights).

Then I just cut to the mark... right now I only need two oversize bolts.


While also playing around with all the bronze rod, I also brought out the propane torch and tried to bang out a bracelet. Here it is all covered with soot and tarnish, covered in scars from the pliers. I don't think that this will ever turn out jewelry grade, but I anticipate liking it.


I just got done cutting the threads on the bolts. It took a little getting used to getting the die to 'bite in' and start making threads, but I got the hang of it. It wasn't too hard, plus bronze is pretty soft to cut. I already had the die and the wrench to fit, I just needed to do it at school because I do not have a bench vice to hold the rod still while I cut.

Here are the instruments of destruction.

And the final product... I feel like I have completed some sort of black magic. Cutting threads is pretty cool.